
How to create an NFT on Ethereum Blockchain
NFTs are popping right now !! 👽


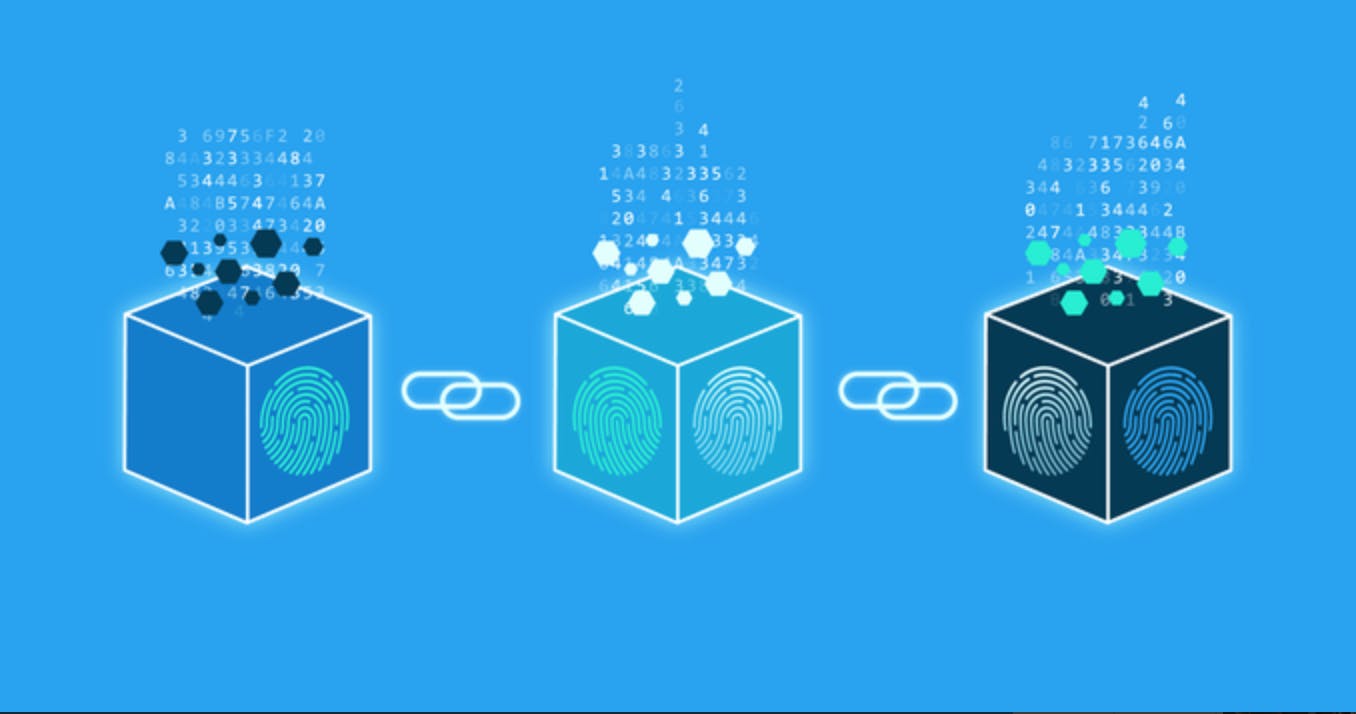
What's Blockchain ?
Blockchain is a system of recording information in a way that makes it difficult or impossible to change, hack, or cheat the system.
“Picture a spreadsheet that is duplicated thousands of times across a network of computers. Then imagine that this network is designed to regularly update this spreadsheet and you have a basic understanding of the blockchain.”
What are Smart Contracts?
A smart contract is a self-executing contract with the terms of the agreement between buyer and seller being directly written into lines of code.
Smart contracts are simply programs stored on a blockchain that run when predetermined conditions are met.
The Ethereum Blockchain
Ethereum is a decentralized, open-source blockchain with smart contract functionality. Ether (ETH) is the native cryptocurrency of the platform. Ethereum is the community-run technology powering the cryptocurrency, ether (ETH), and thousands of decentralized applications.
What's an NFT ?
An NFT is a unique token living on a blockchain that represents some other data, like an image or video. Since NFTs live on a blockchain( like Ethereum) their easy to track. Allowing for verification of ownership and past history. They let us tokenize things like art, collectibles even real estate. In Ethereum we make use of ERC721.
The first NFTs were Cyptopunks built by Larva Labs ( 2017 )

Okay we are done with some cool definitions and its time to get our hands dirty 🤗
Foolish Assumptions
- That you have a basic understanding of blockchain, smart contracts, and NFTs
- That you have some basic javascript knowledge
- That you have nodejs and npm installed on your machine
Quick Summary
We will be developing an NFT Smart Contract on the ethereum blockchain and making use of different third-party technologies like hardhat, ethers.js and Alchemy.
Steps
1. Working with Alchemy
2. Creating an Ethereum account(address)
3. Add an Ether to our test account
4. Setup a javascript and solidity project
5. Develop our smart contract
6. Deploying our smart contract
Step 1: Working with Alchemy
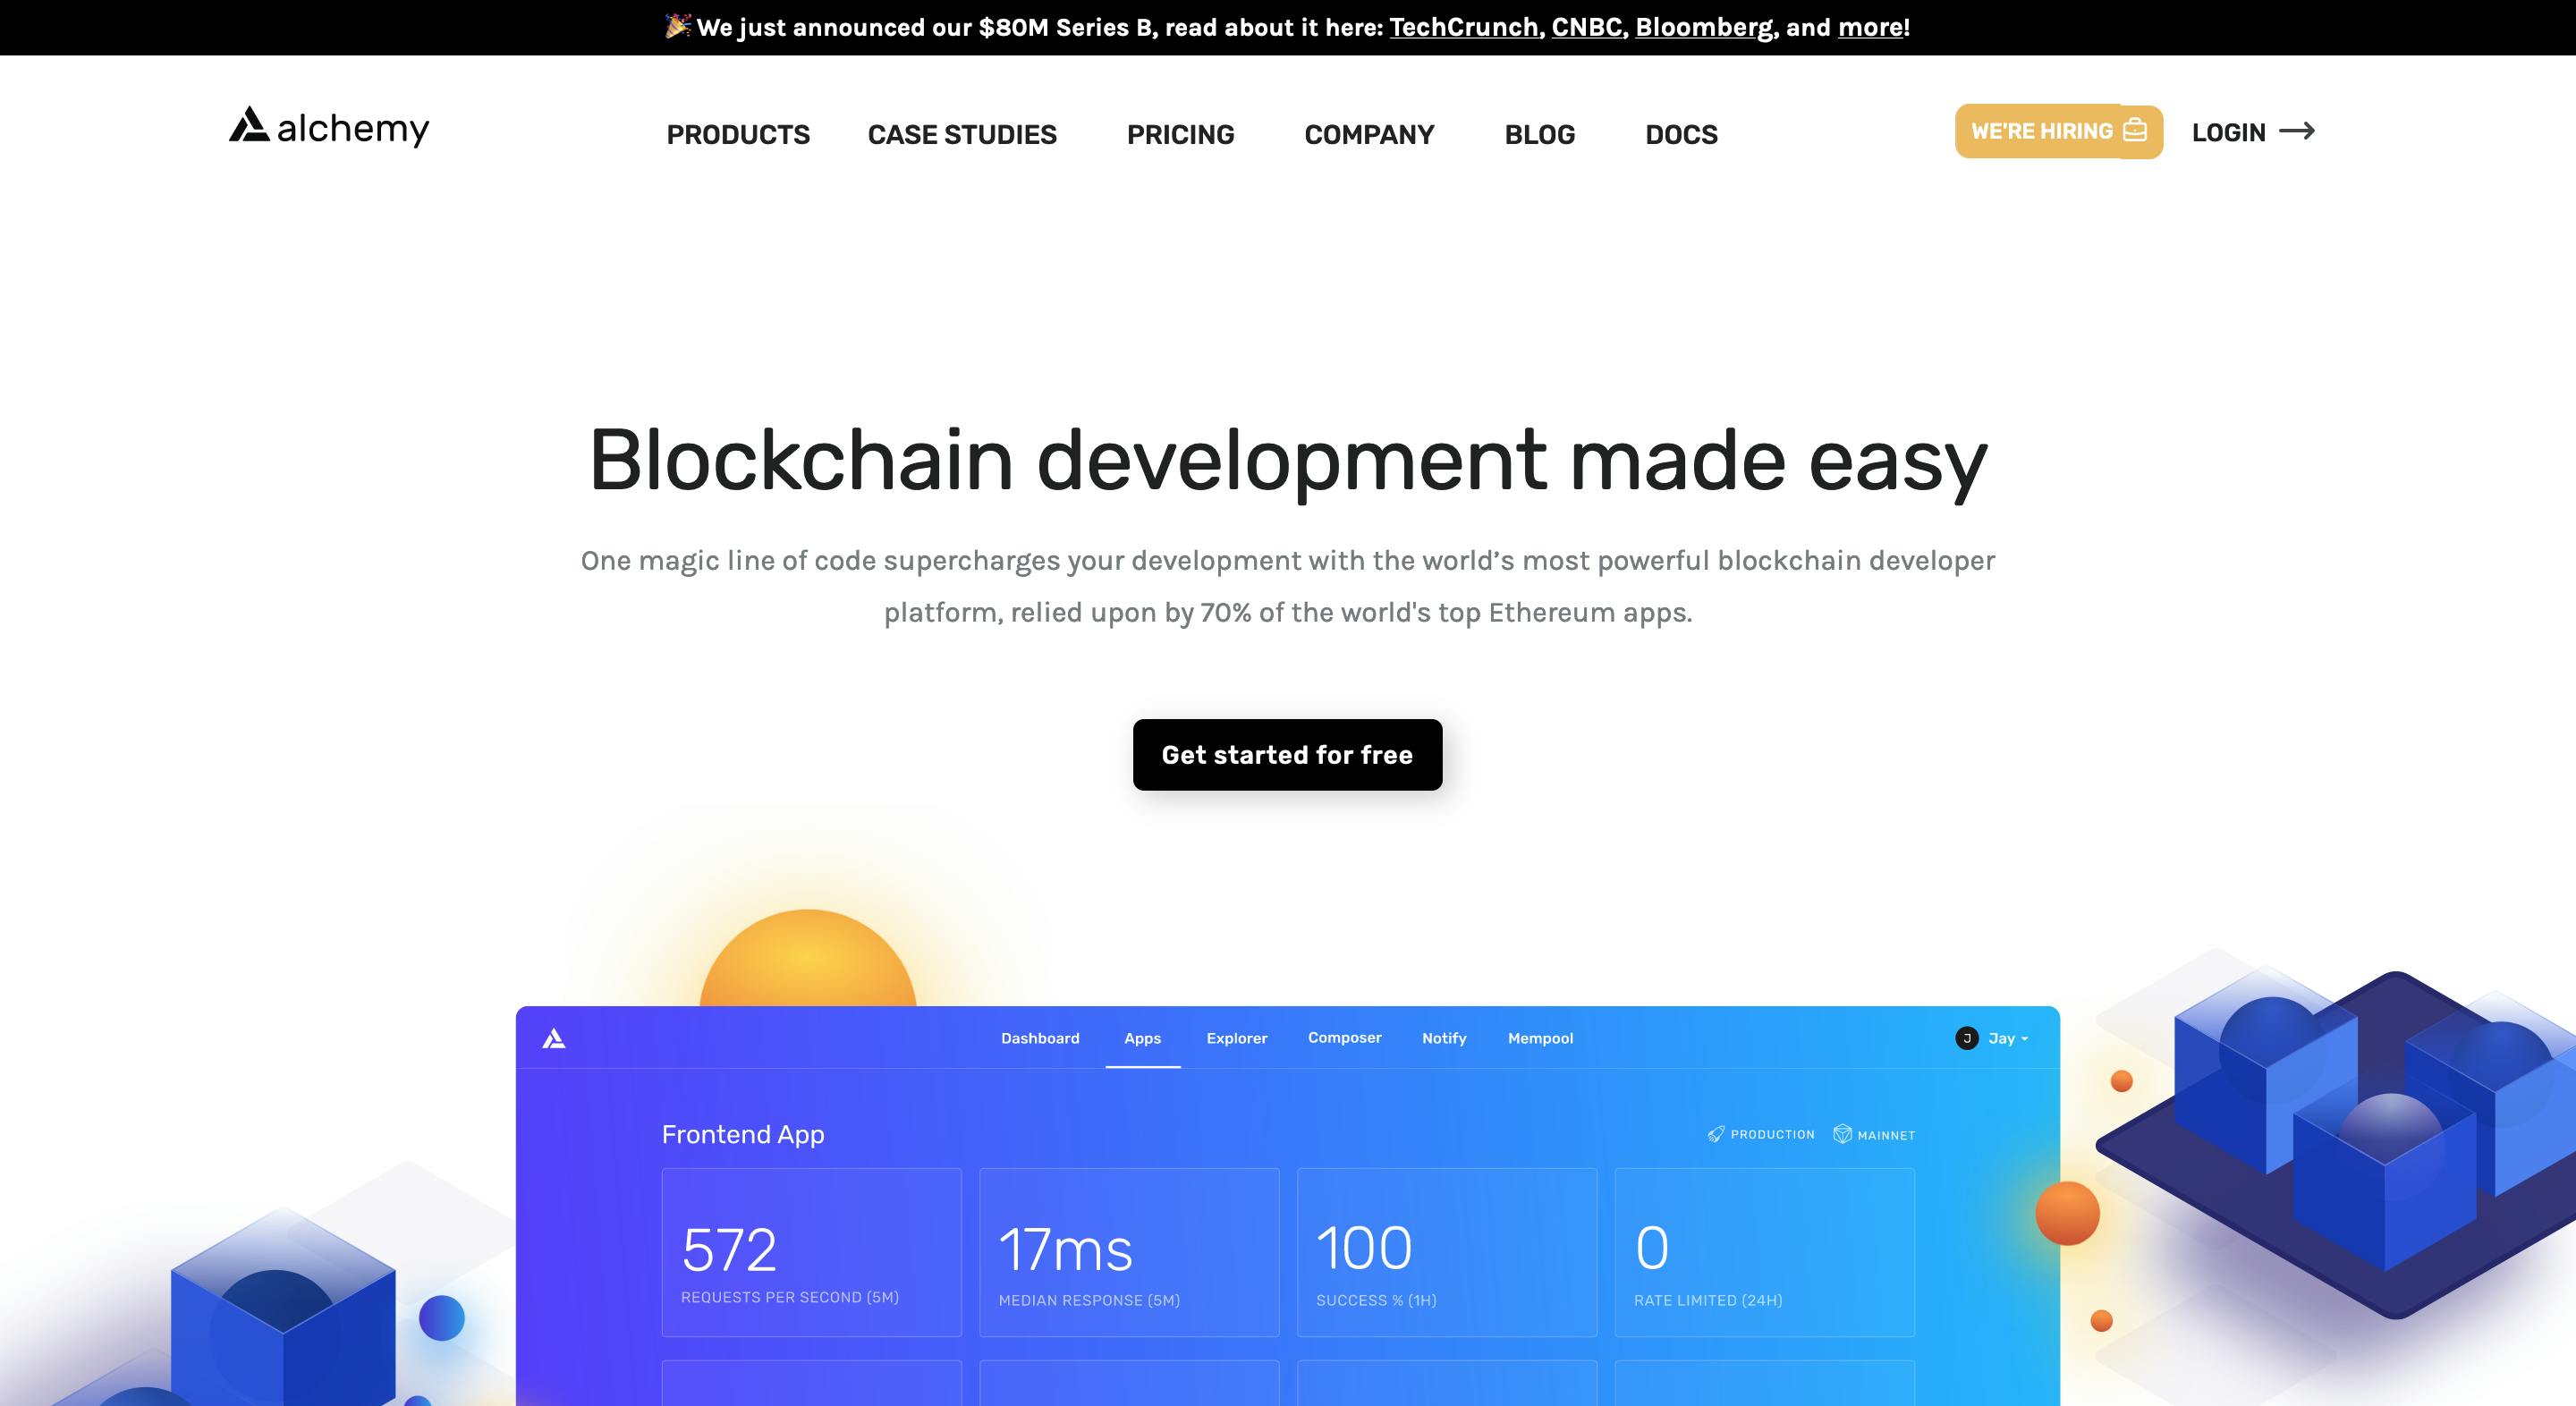
Alchemy is a blockchain developer platform and API that allows us to communicate with ethereum chain without running our own nodes. It's an awesome platform and will get you started with Ethereum blockchain development in no time at all.🤯
Firstly , let's go to Alchemy and set up our account ( navigate to the login button )
Next , let's create our test app ( and API Key) on the alchemy dashboard
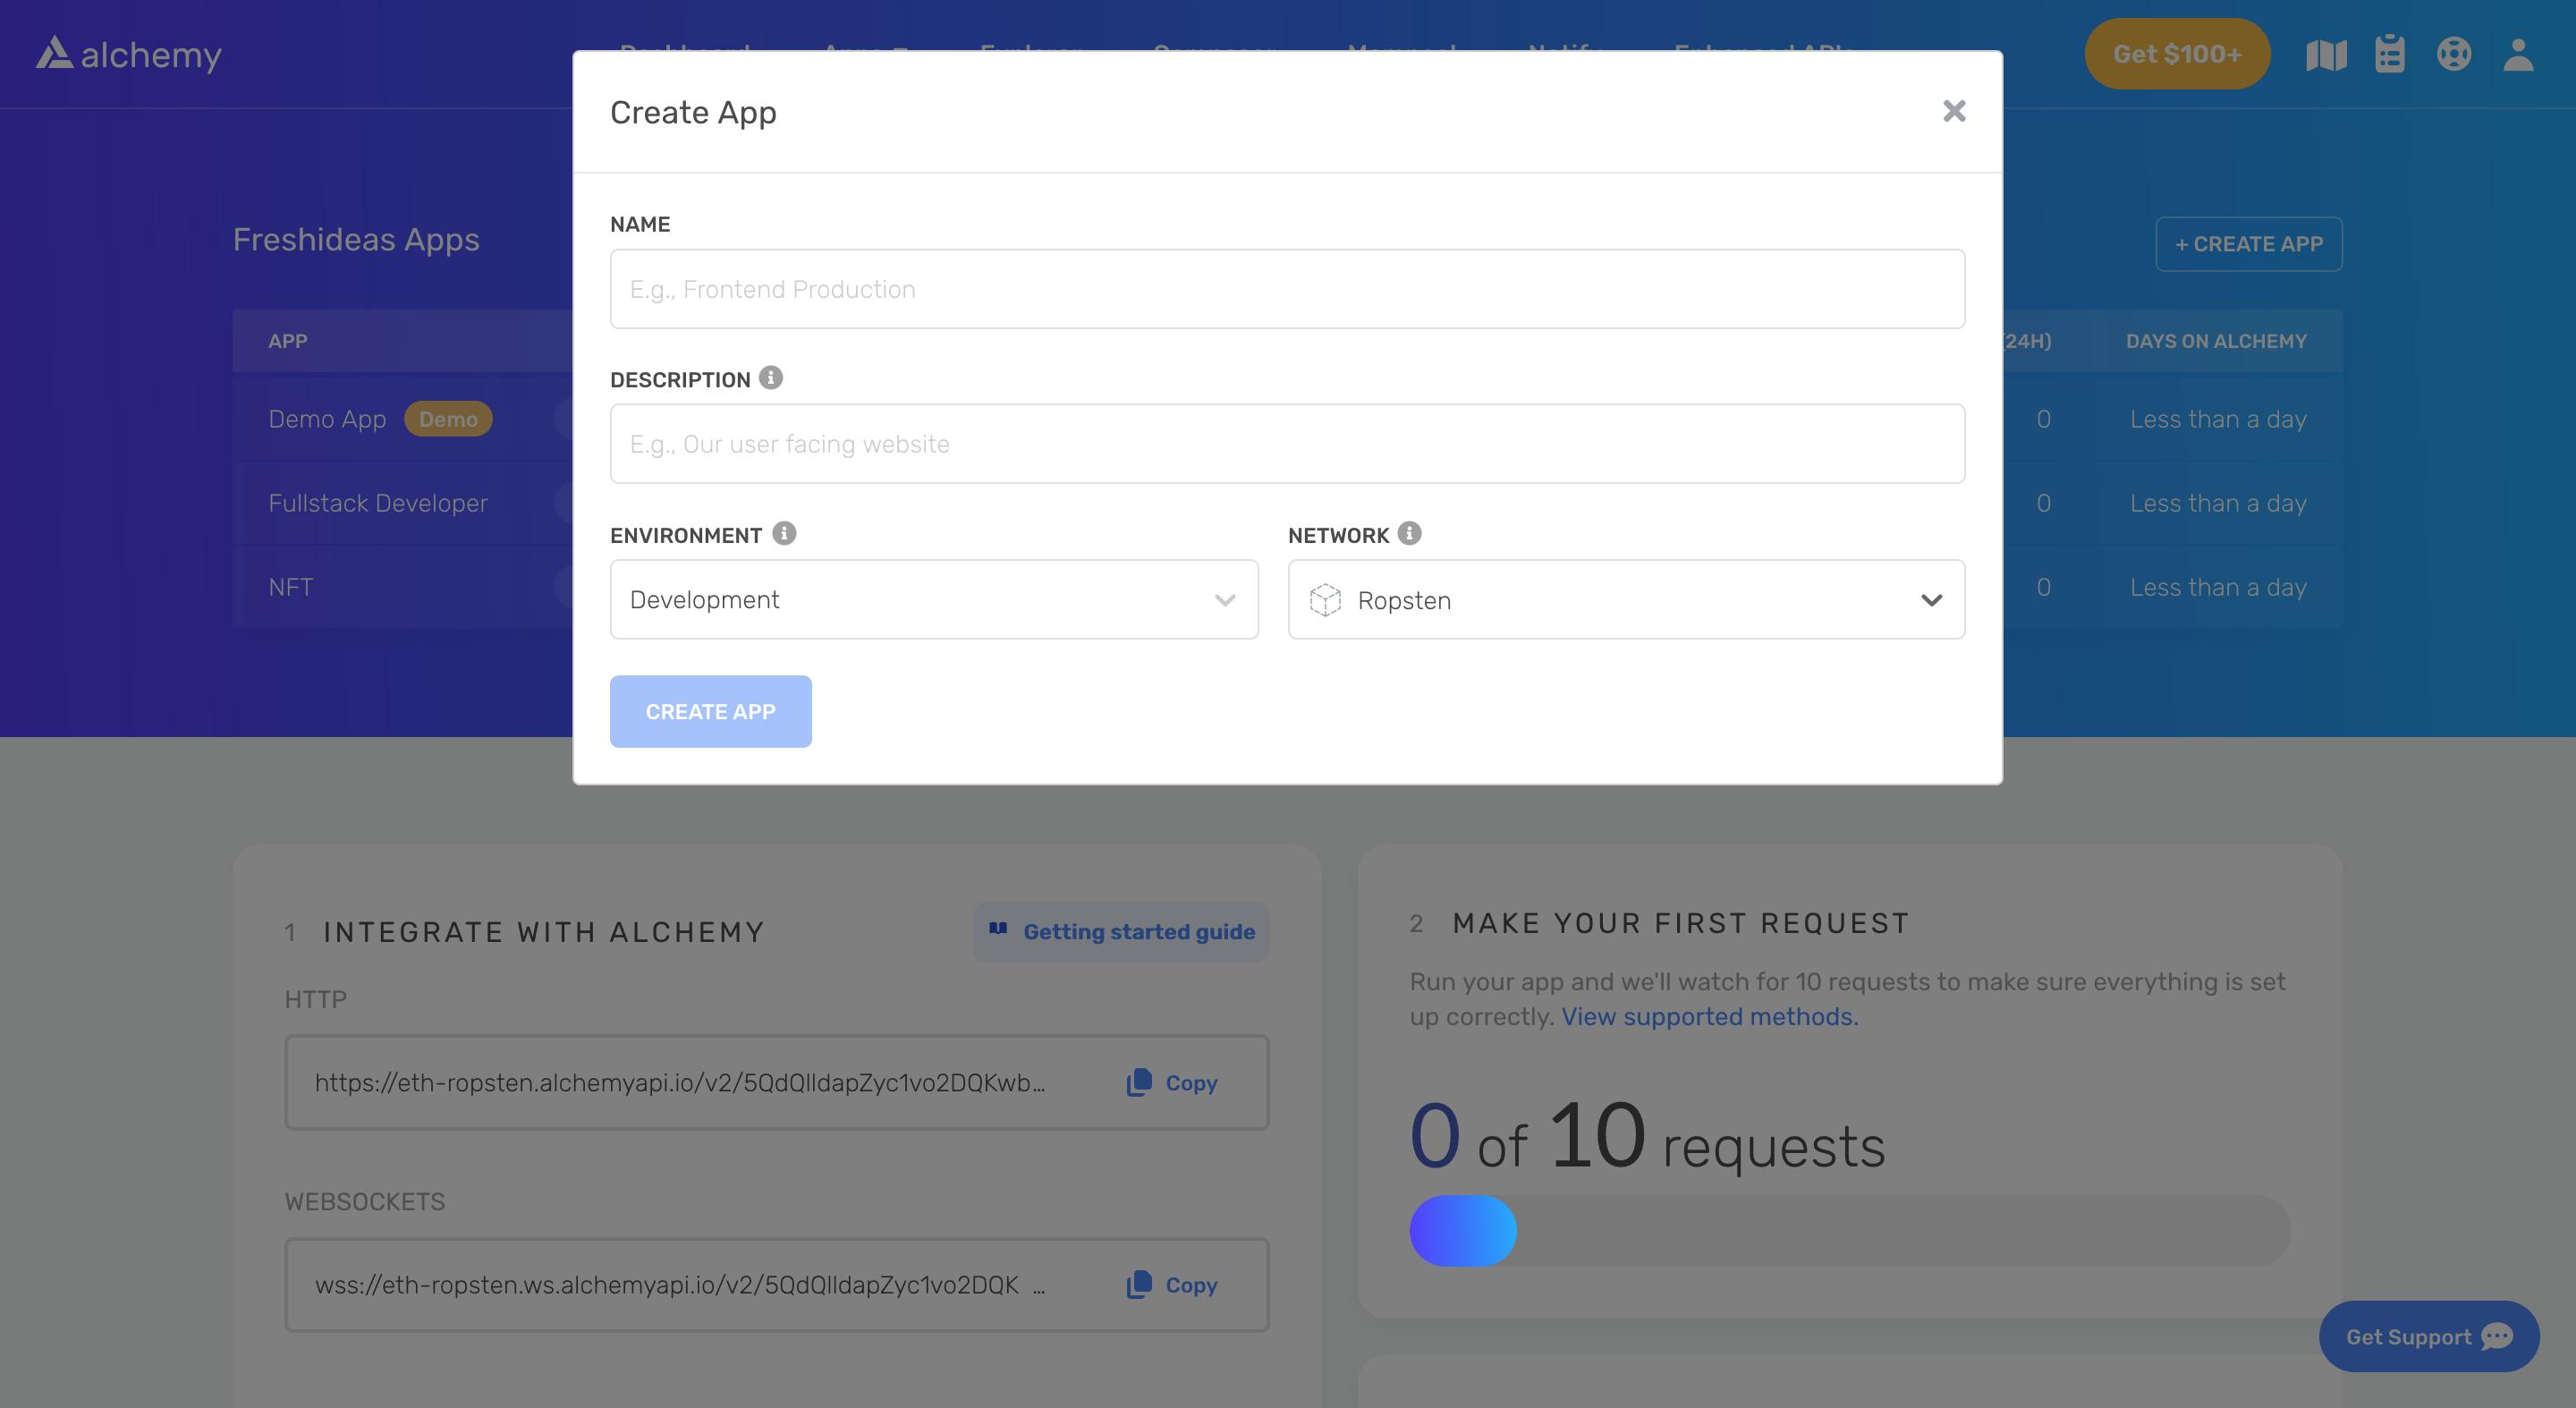
You can name your app any name of your choice , add a short description, choose Staging environment and choose the Ropsten network.

Step 2: Creating an Ethereum account (address)
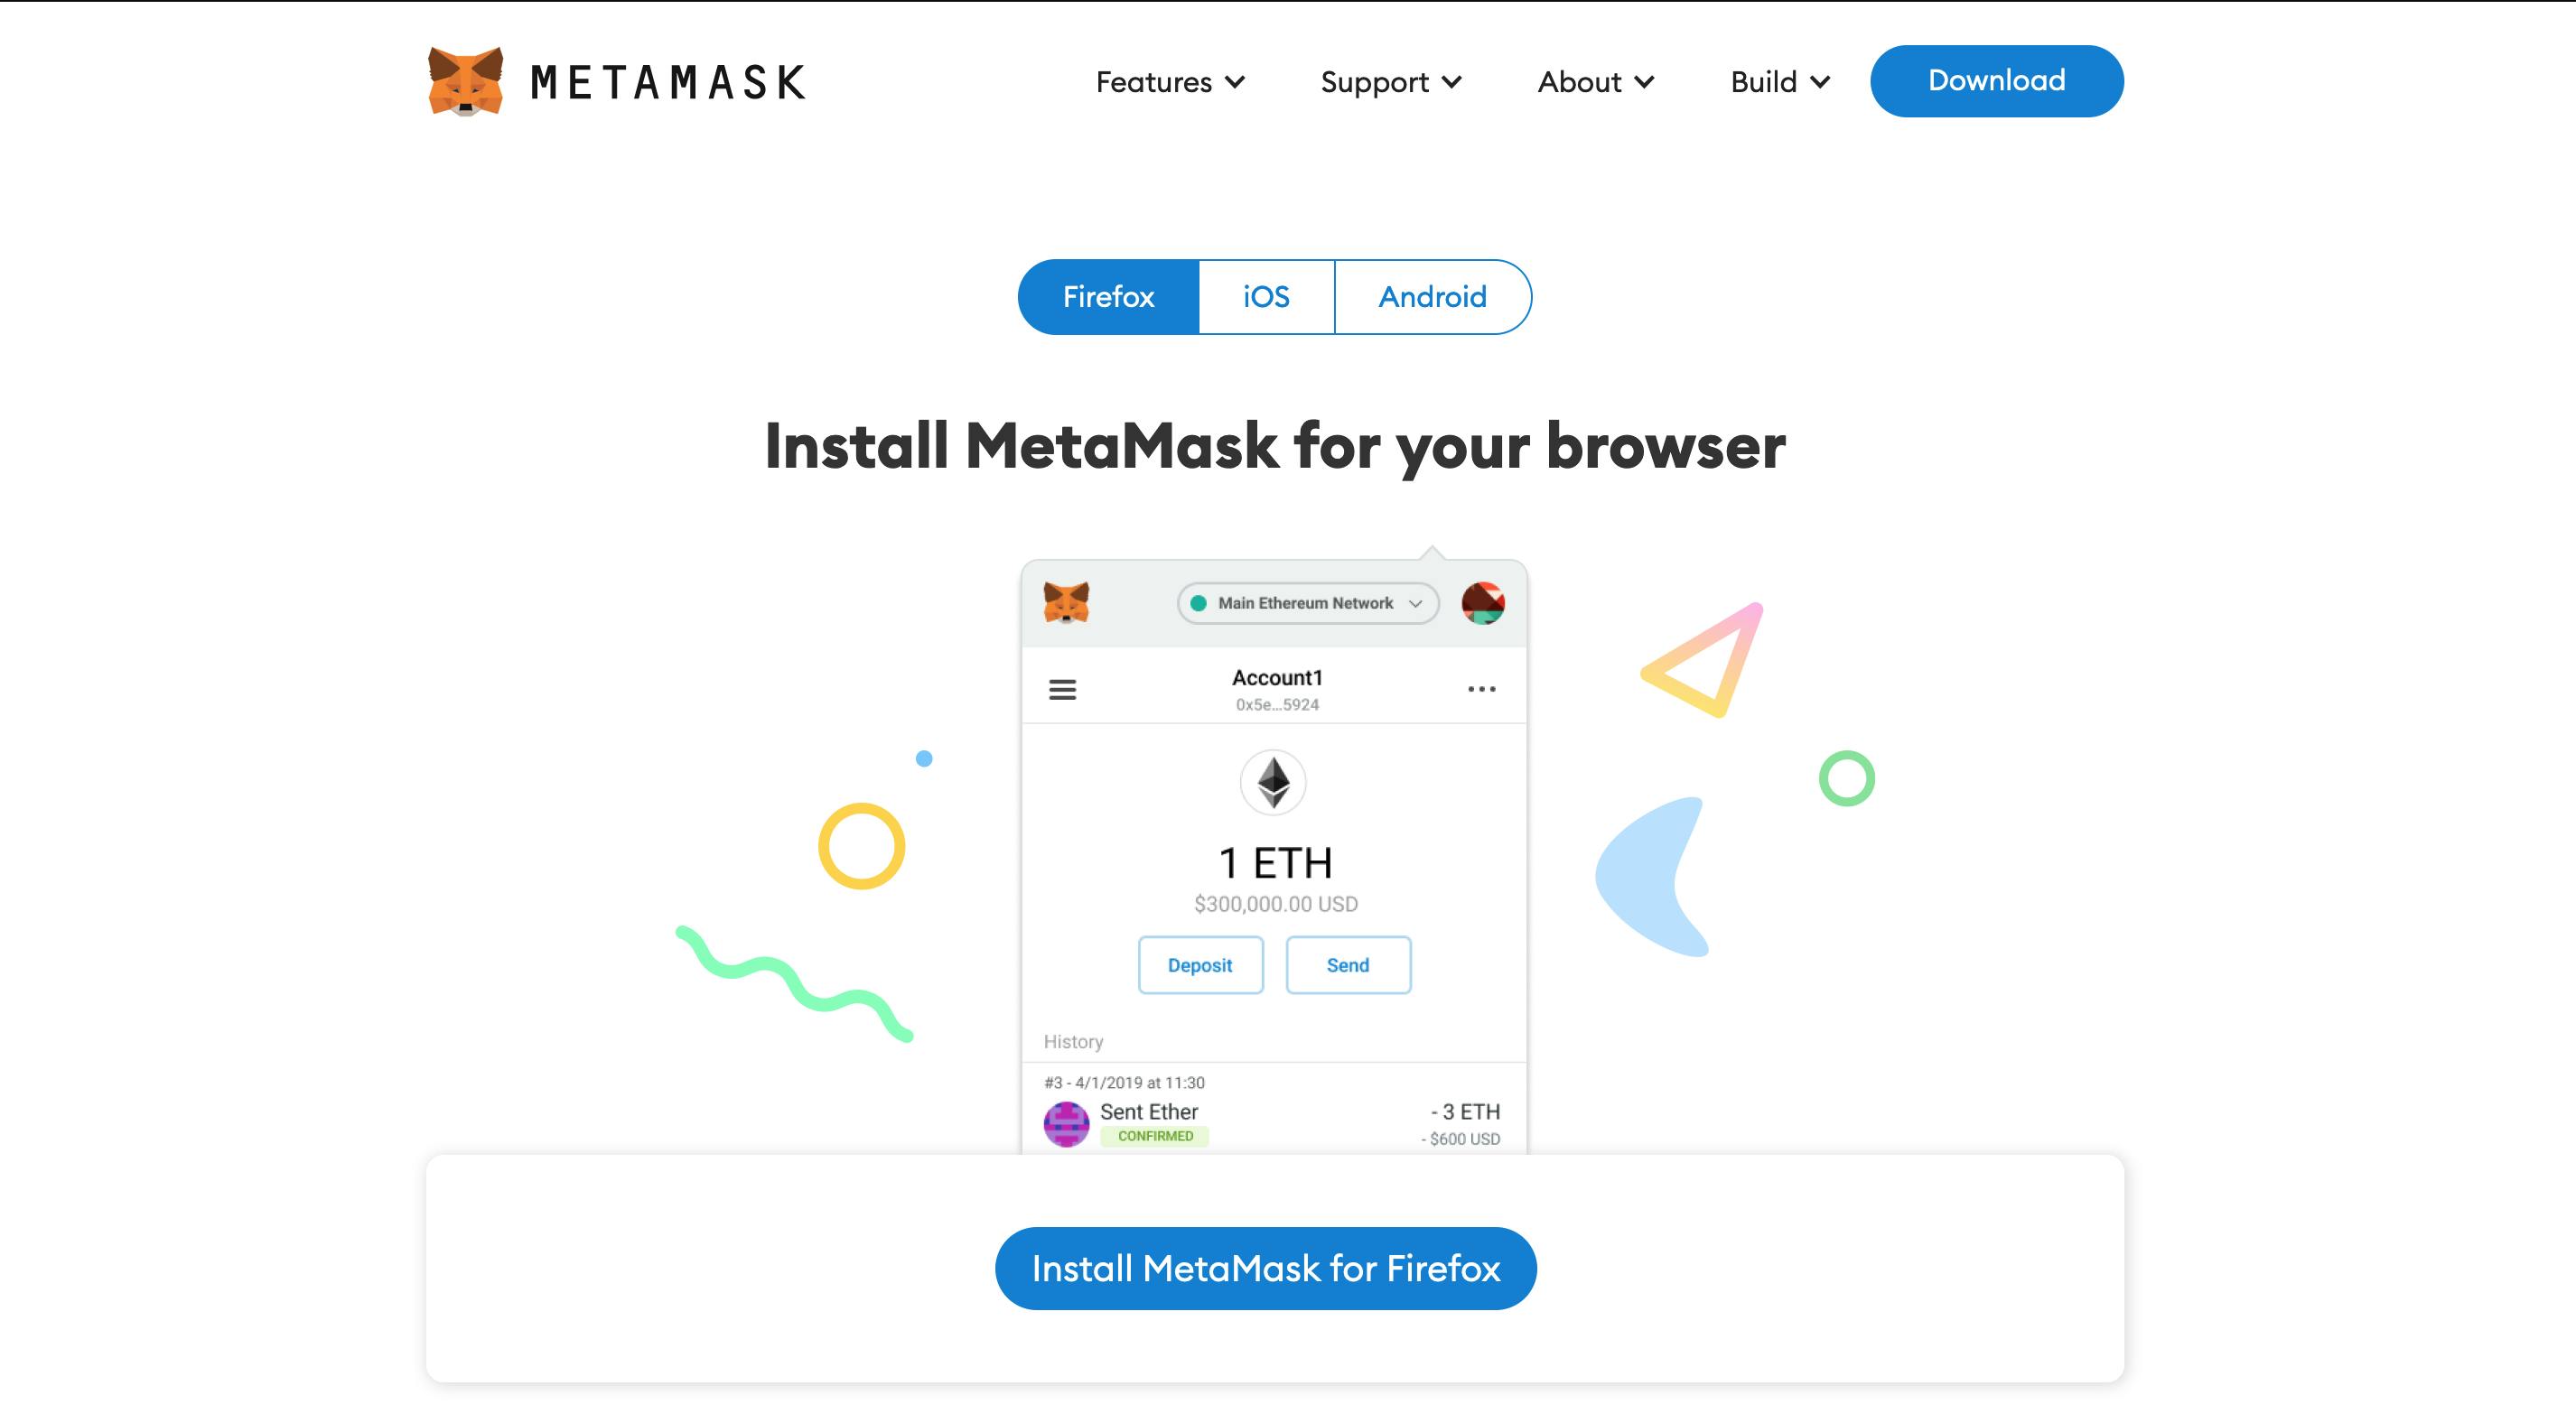
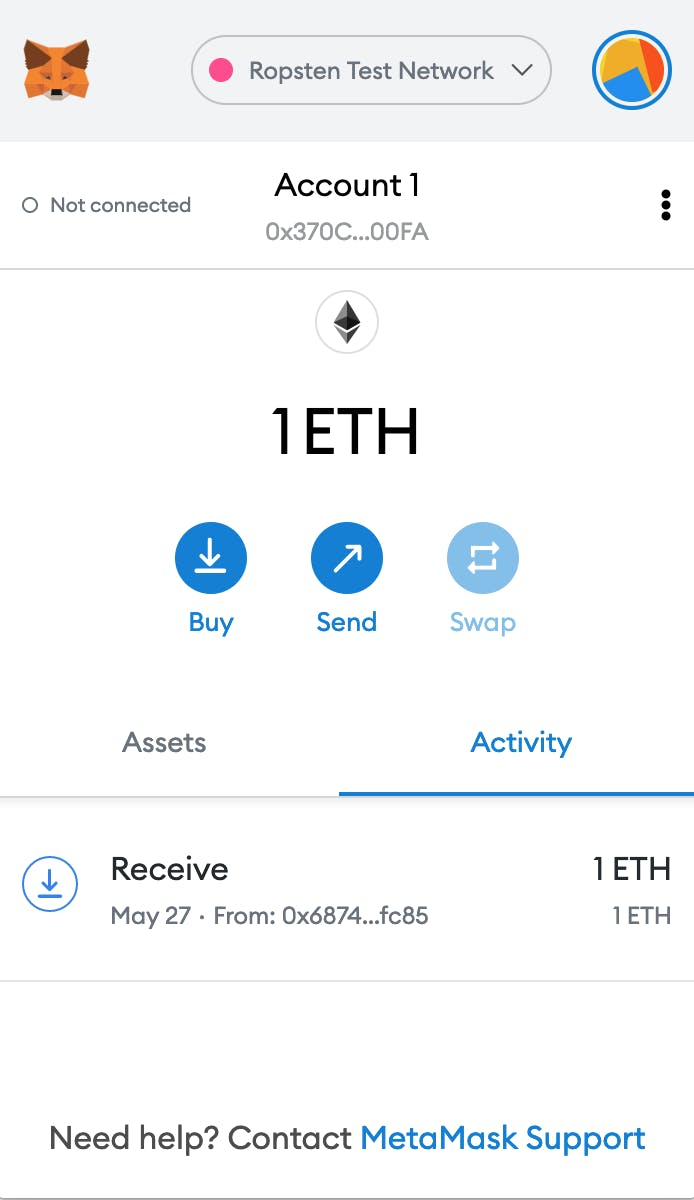
We will be using Metamask to create an ethereum account that receives and sends transactions.
Firstly , let's download Metamask onto our browser( preferably use firefox or chrome) . Register and log in to Metamask and select the Ropsten test network as our Ethereum network.
Step 3: Add an Ether to our test account
We are going to Ropsten Ethereum Faucet to fund our test account with 1 Ether.
Firstly, let's navigate to the Faucet site Faucet
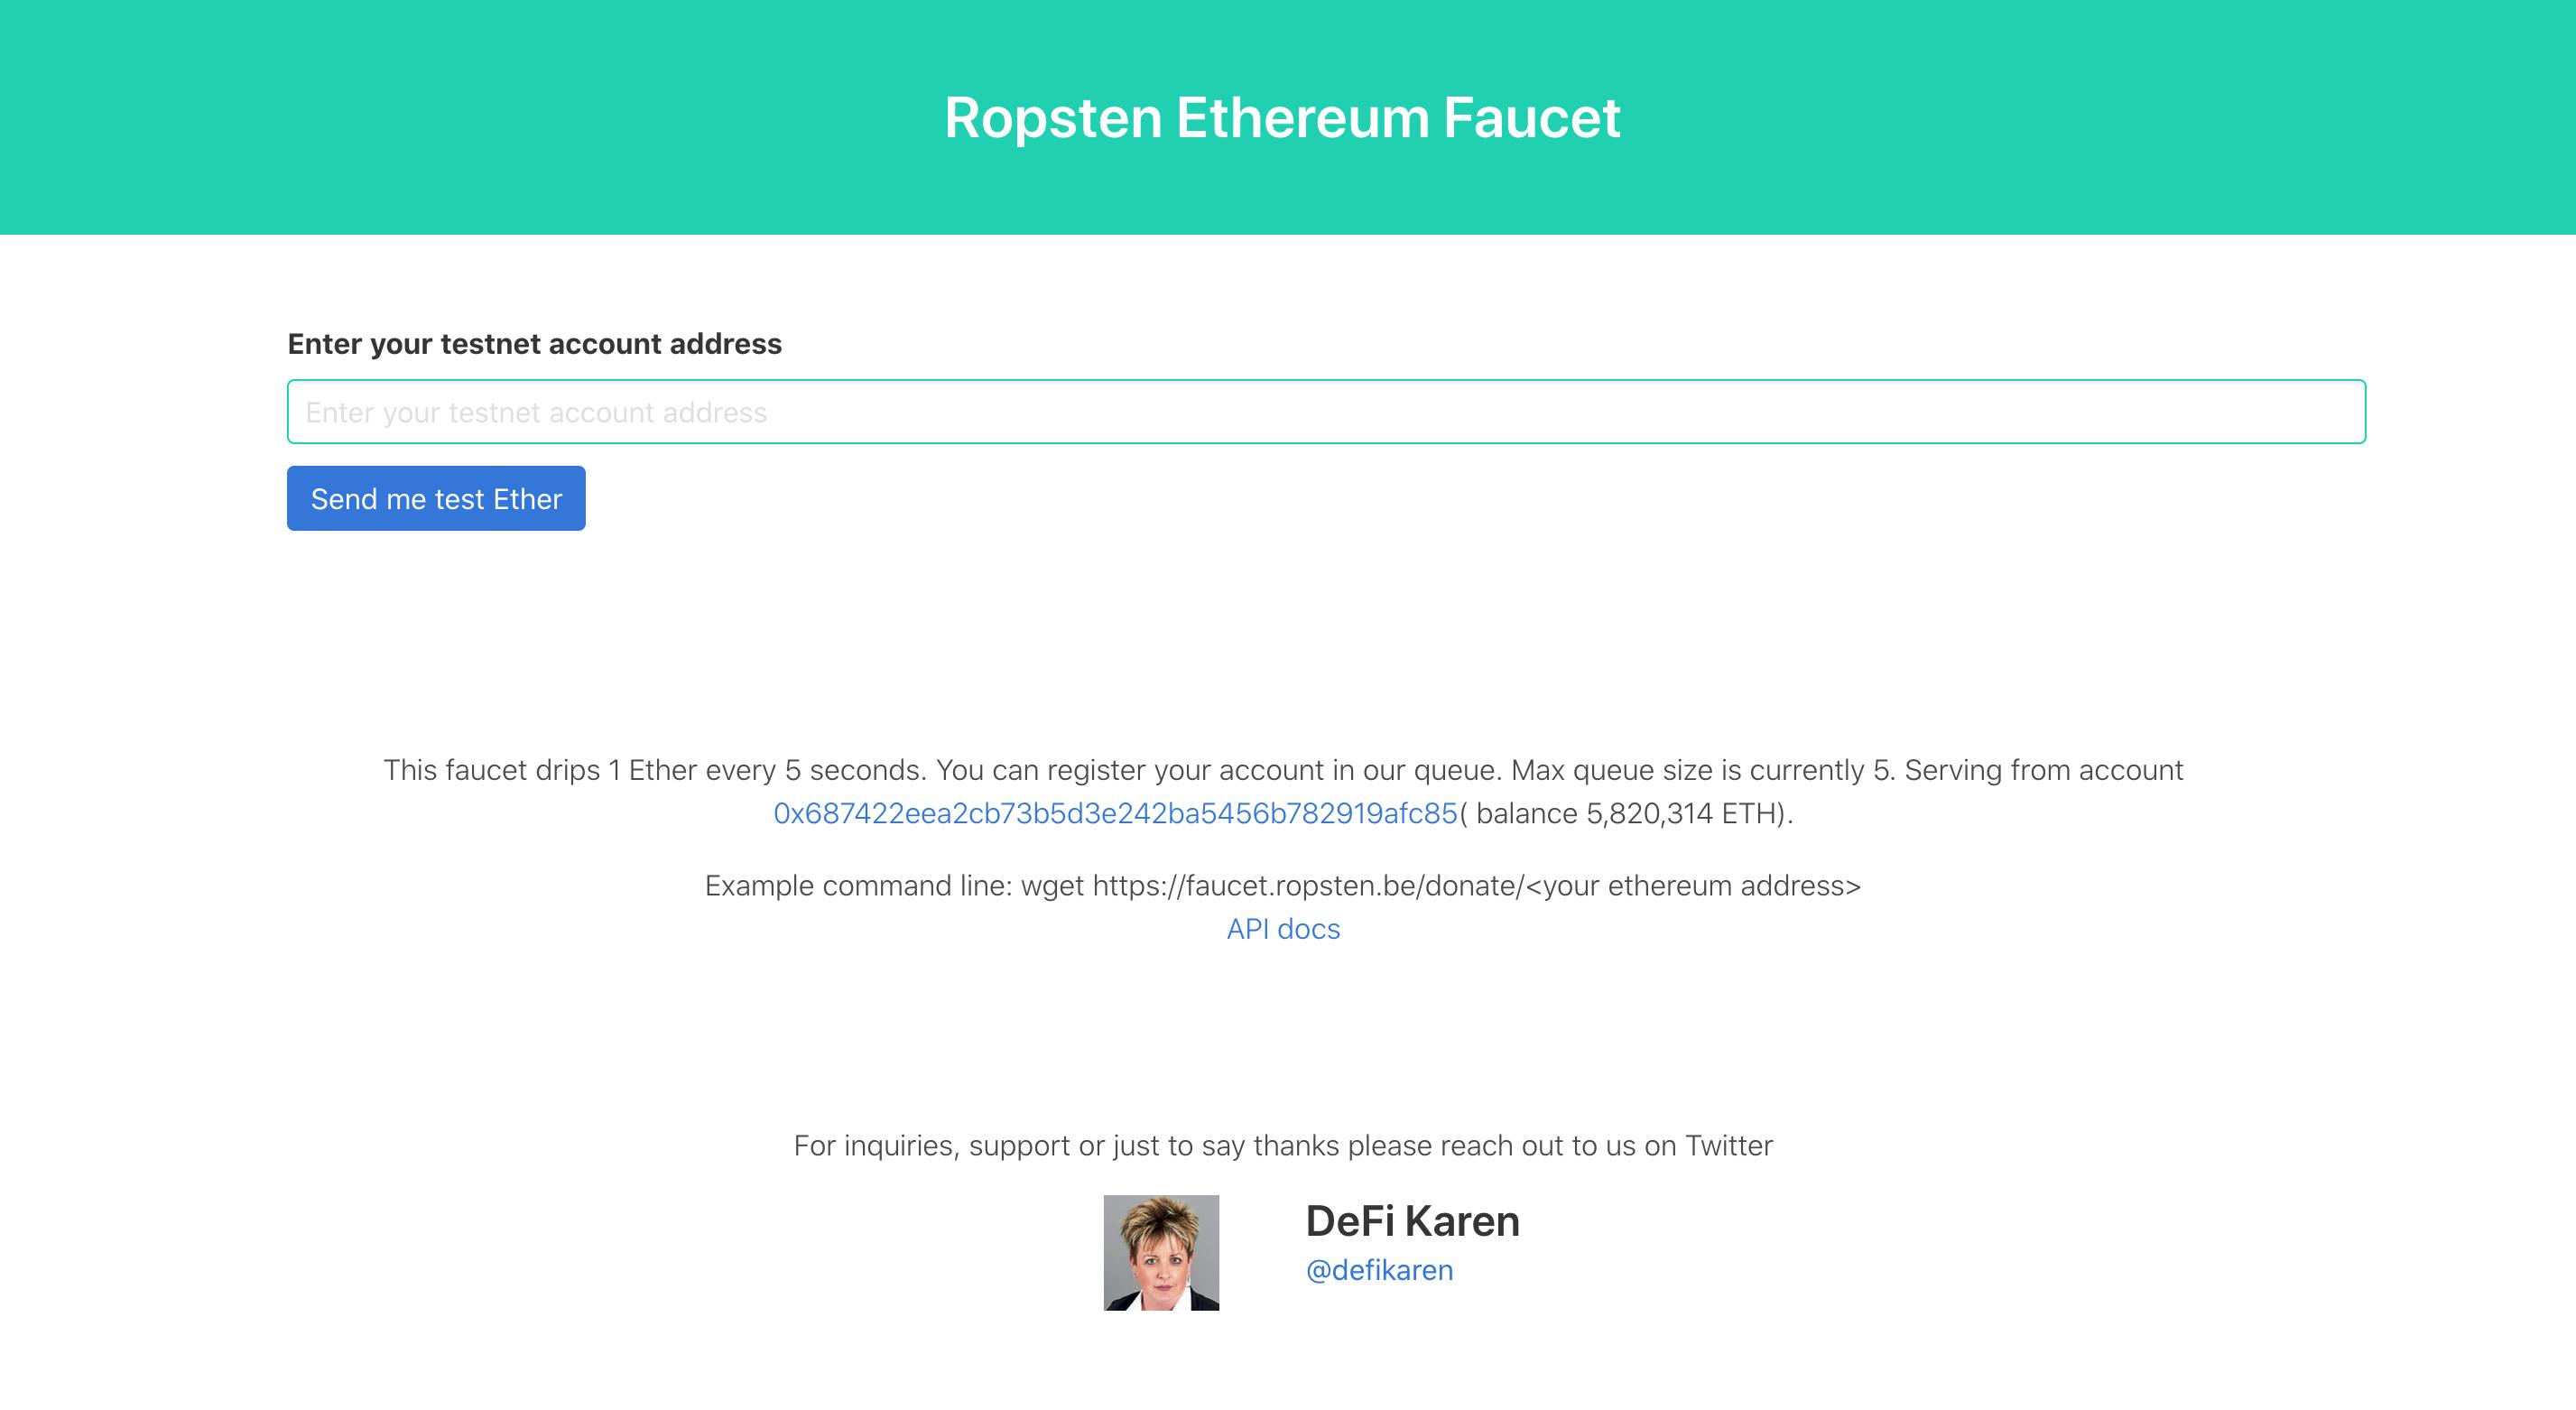
Let's enter our test account public id from our Metamask wallet and click the send me test Ether. After let's check our wallet and you should have one test ether.⚡️ ☄️ 💥 🔥
Step 4: Setup a javascript and solidity project
Let's go into our terminal (Ideally you can make use of an IDE) and set up our javascript project
Firstly, let's create our project directory and navigate to it
mkdir nft-project
cd nft-project
Let's initialize our js project using npm init
npm init
Next , let's install Hardhat is a development environment to compile, deploy, test, and debug your Ethereum software. This is an awesome piece of software really!!🤖
npm install --save-dev hardhat
Let's run the command below:
npx hardhat
And select create an empty hardhat.config.js.
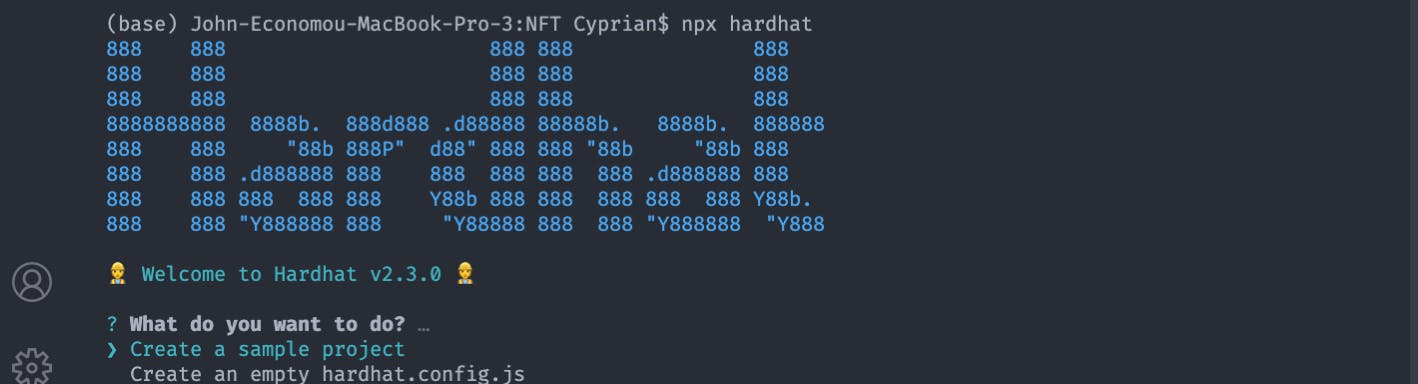
This will create a hardhat.config.js in the root directory folder
Let's add two new folders to the root directory of the project by running mkdir commands in the terminal
mkdir  contracts

mkdir scripts
./contracts is where our NFT smart contract will live and in ./scripts is where we will keep scripts to deploy and interact with our NFT smart contract .
Step 5: Develop our smart contract
We will be using OpenZepplin to build our non-fungible tokens. OpenZepplin offers a library of secure smart contracts that can be used for development.
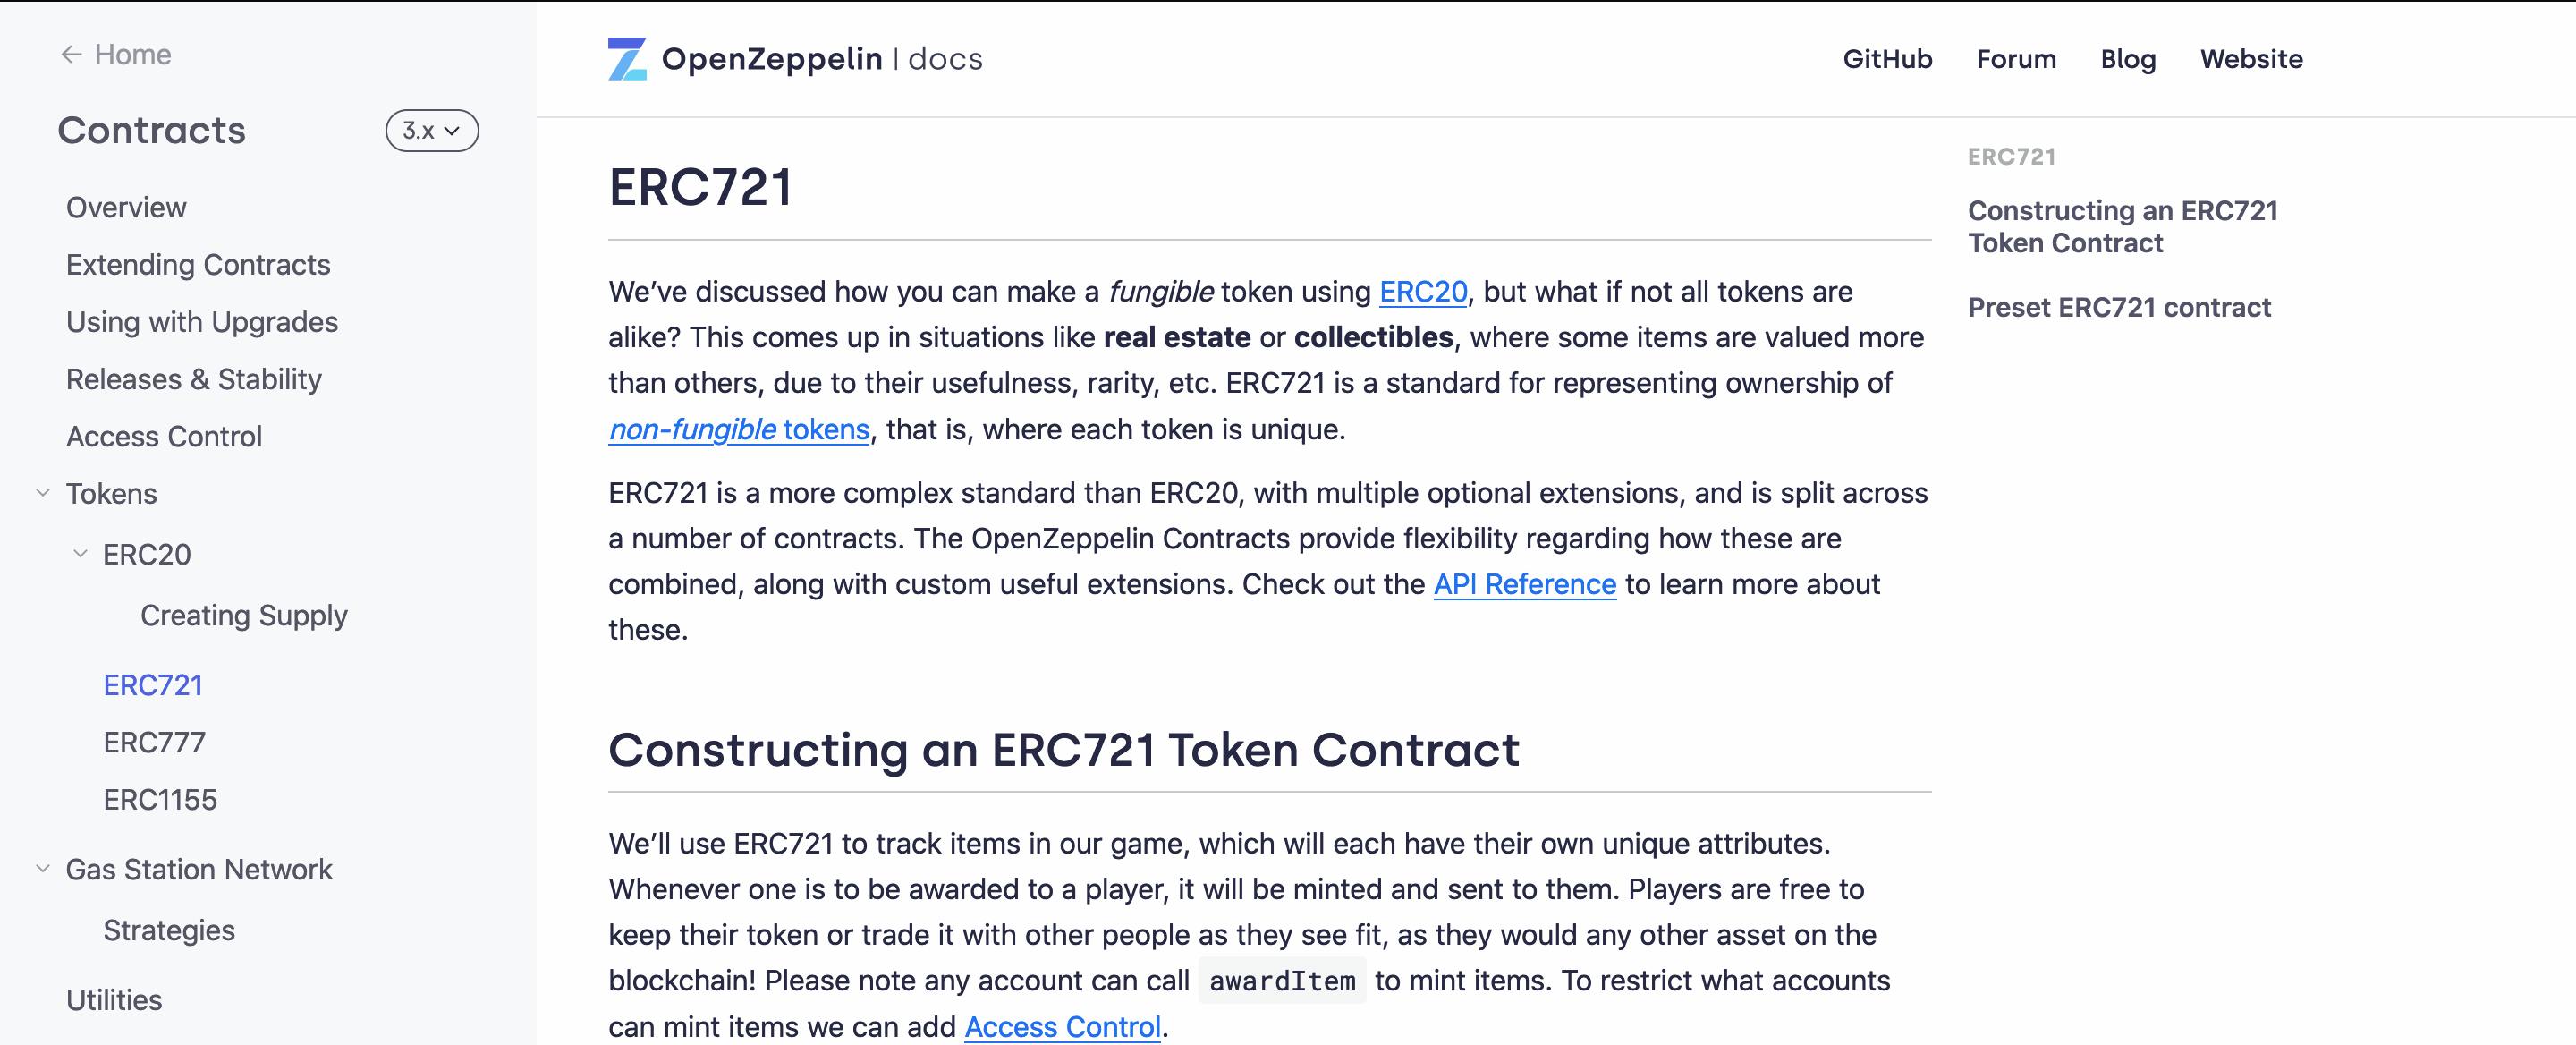
Let's open our code IDE ( VScode 🔥) and create a solidity file called "MyNFT.sol" that will add our smart contract code too. We will be using solidity language to write out a smart contract and you can read more about it here
Solidity is an object-oriented programming language for writing smart contracts. Add the code below to the file
//Contract based on https://docs.openzeppelin.com/contracts/3.x/erc721
// SPDX-License-Identifier: MIT
pragma solidity ^0.7.3;

import "@openzeppelin/contracts/token/ERC721/ERC721.sol";
import "@openzeppelin/contracts/utils/Counters.sol";
import "@openzeppelin/contracts/access/Ownable.sol";


contract cryptoDunks is ERC721, Ownable {
    using Counters for Counters.Counter;
    Counters.Counter private _tokenIds;

    constructor() public ERC721("crytoDunks, "NFT") {}

    function mintNFT(address recipient, string memory tokenURI)
        public onlyOwner
        returns (uint256)
    {
        _tokenIds.increment();

        uint256 newItemId = _tokenIds.current();
        _mint(recipient, newItemId);
        _setTokenURI(newItemId, tokenURI);

        return newItemId;
    }
}
Since we are using the OpenZepplin library let's install the library to our project
npm install @openzeppelin/contracts@3.1.0-solc-0.7
To understand more about what the above code does checkout this link
Let's connect our Metamask account and Alchemy account to the project. We will install dotenv dependency on to the project. Dotenv is a zero-dependency module that loads environment variables from a .env file into process.env. Lastly , we will add API URL from the app we created in Alchemy and the metamask private key from our Metamask account.
Install dotenv
npm install dotenv --save
Create a .env file in the root of the project
touch .env
And lastly, add the environment variables
API_URL = "https://eth-ropsten.alchemyapi.io/v2/your-api-key"
PRIVATE_KEY = "your-metamask-private-key"
Let's install ethers.js into our project . Ethers.js library aims to be a complete and compact library for interacting with the Ethereum Blockchain and its ecosystem. It makes it easier for us to interact and make requests to Ethereum.
npm install --save-dev @nomiclabs/hardhat-ethers 'ethers@^5.0.0'
Let's update the hardhat.config.js with the hardhat-ethers package we just installed
/**
* @type import('hardhat/config').HardhatUserConfig
*/
require('dotenv').config();
require("@nomiclabs/hardhat-ethers");
const { API_URL, PRIVATE_KEY } = process.env;
module.exports = {
   solidity: "0.7.3",
   defaultNetwork: "ropsten",
   networks: {
      hardhat: {},
      ropsten: {
         url: API_URL,
         accounts: [`0x${PRIVATE_KEY}`]
      }
   },
}
Lastly, its time to compile our smart contract using hardhat 🧶
npx hardhat compile
Step 6: Deploy your smart contract
Yey!! 🎓 It's time to finish up our project and deploy it
Let's start off by adding a deploy.js file in the ./scripts folder and adding the code below to the deploy.js file.
async function main() {
   const MyNFT = await ethers.getContractFactory("MyNFT");

   // Start deployment, returning a promise that resolves to a contract object
   const myNFT = await MyNFT.deploy();
   console.log("Contract deployed to address:", myNFT.address);
}

main()
  .then(() => process.exit(0))
  .catch(error => {
    console.error(error);
    process.exit(1);
  });
Let's go into the root of the project in the terminal and run the command below to deploy our smart contract :
npx hardhat run scripts/deploy.js --network ropsten
Our output should be similar to this :
Contract deployed to address: < Your Generated Address >
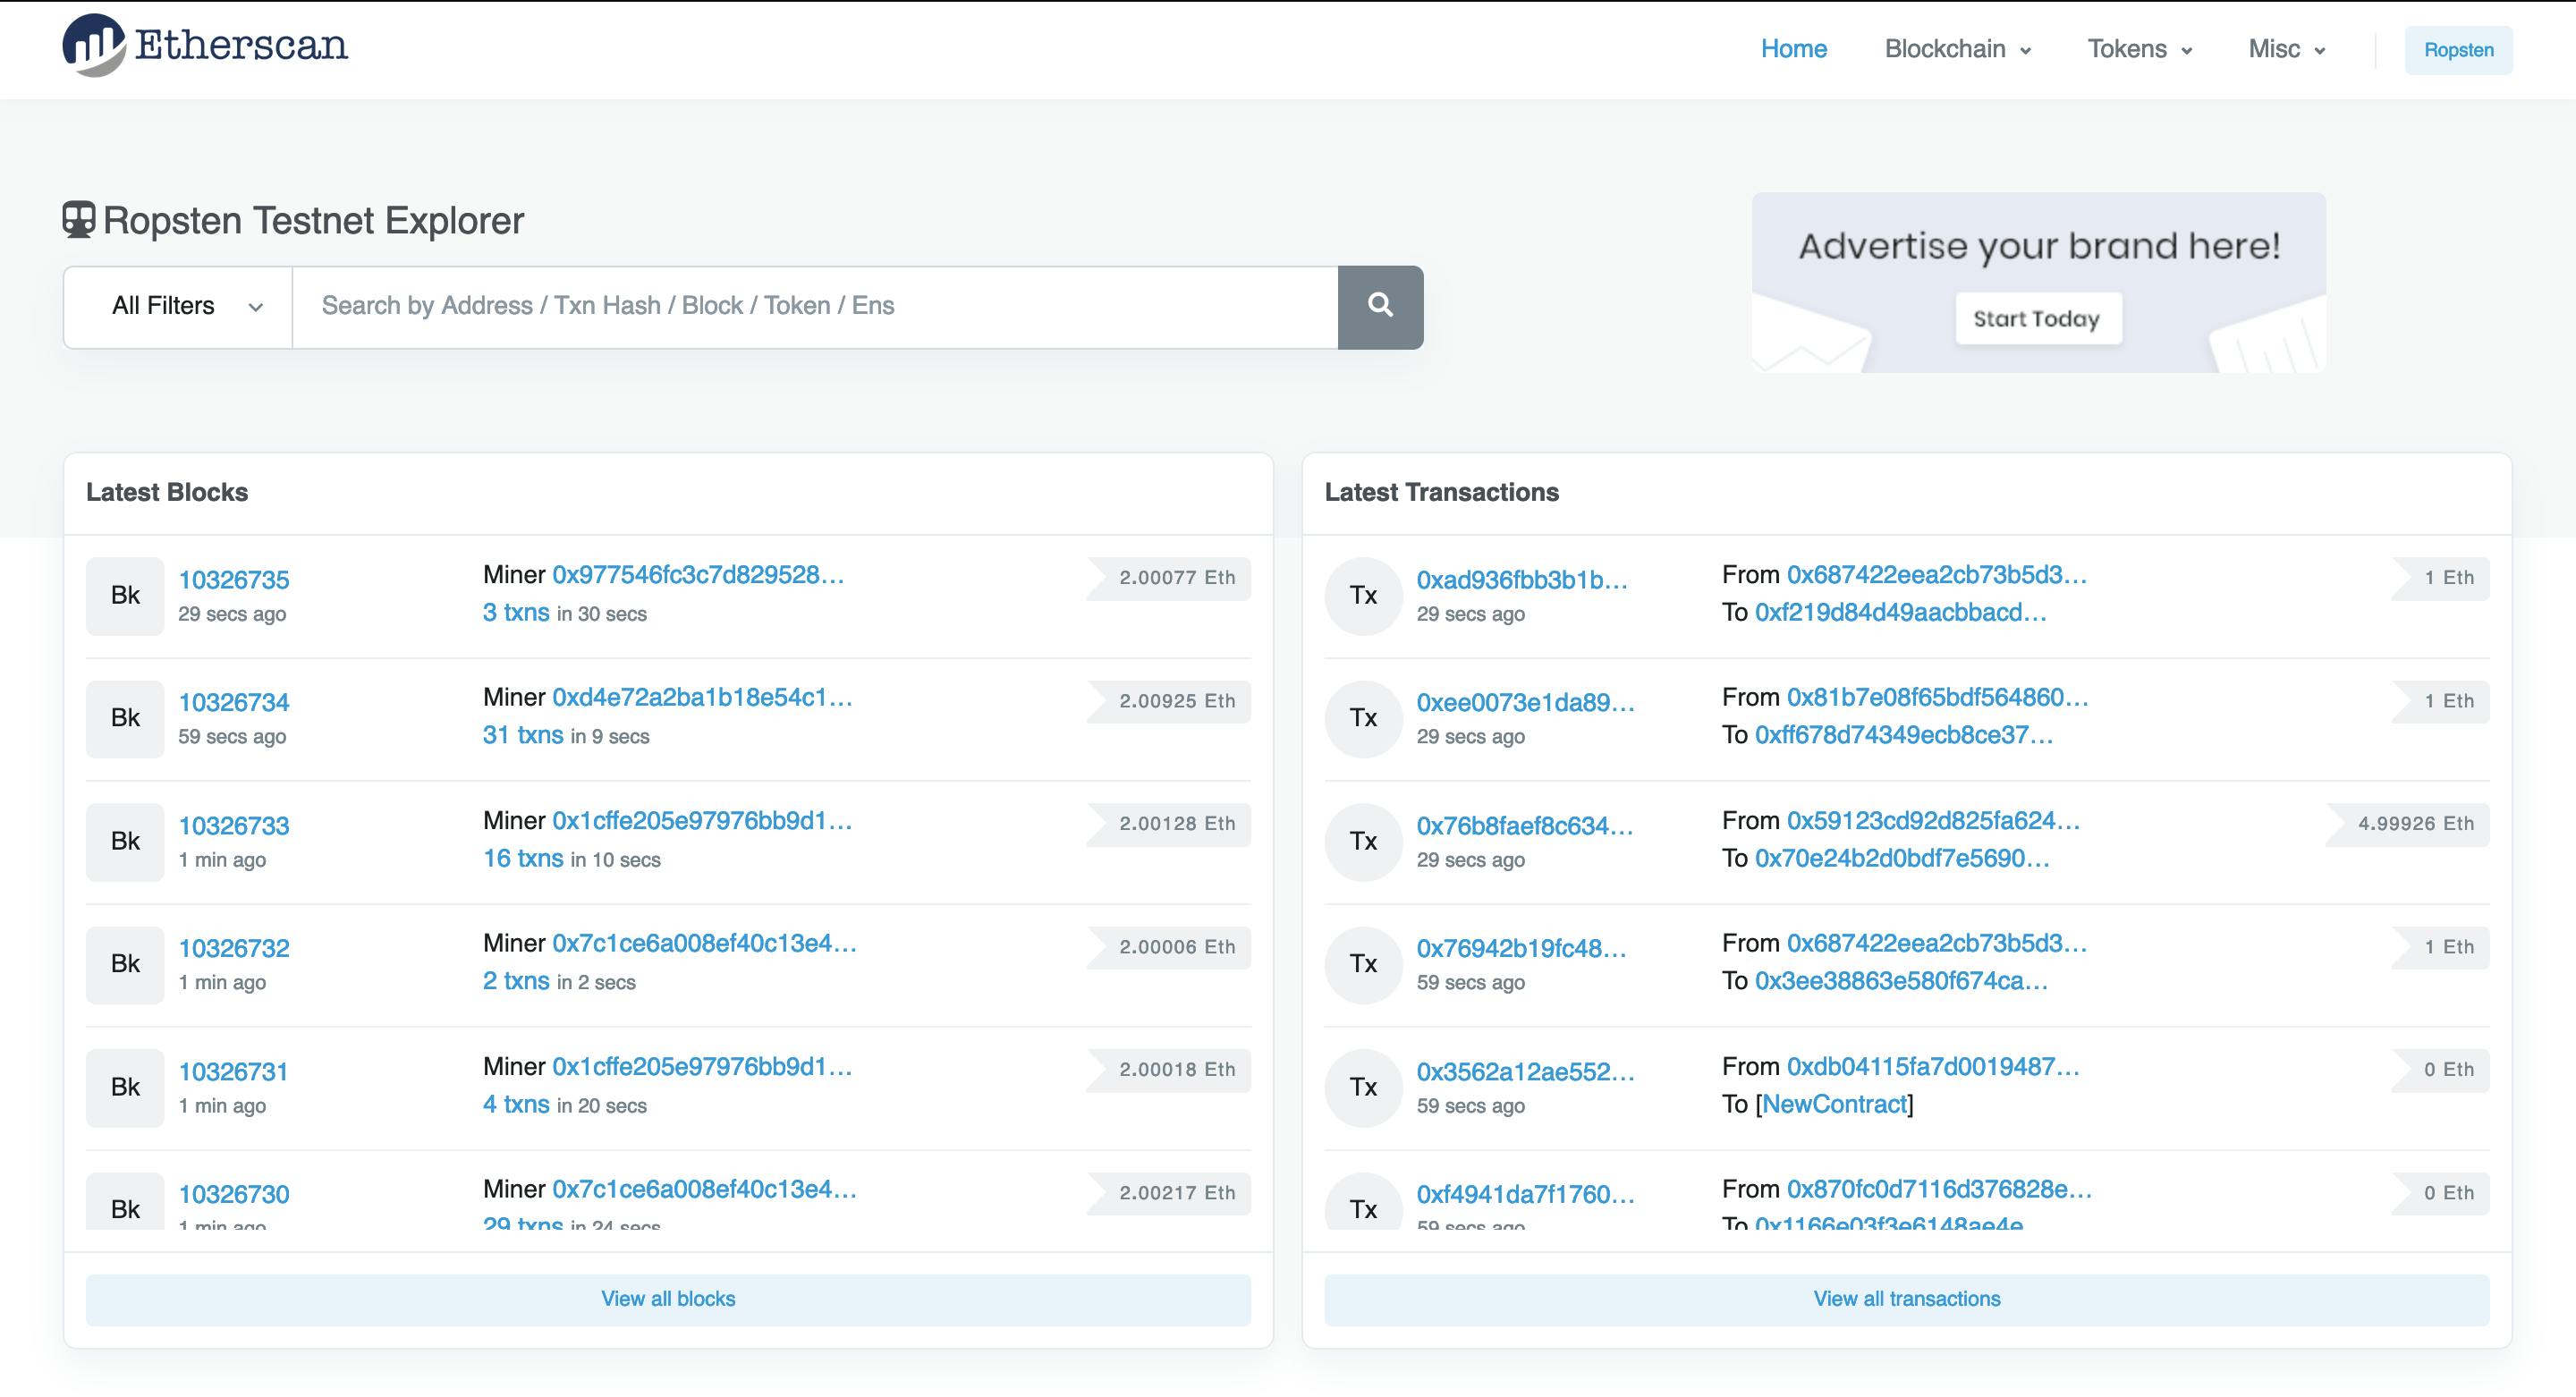
Let's go to Ropsten etherscan and search for our contract address that was generated when we deployed our smart contract.
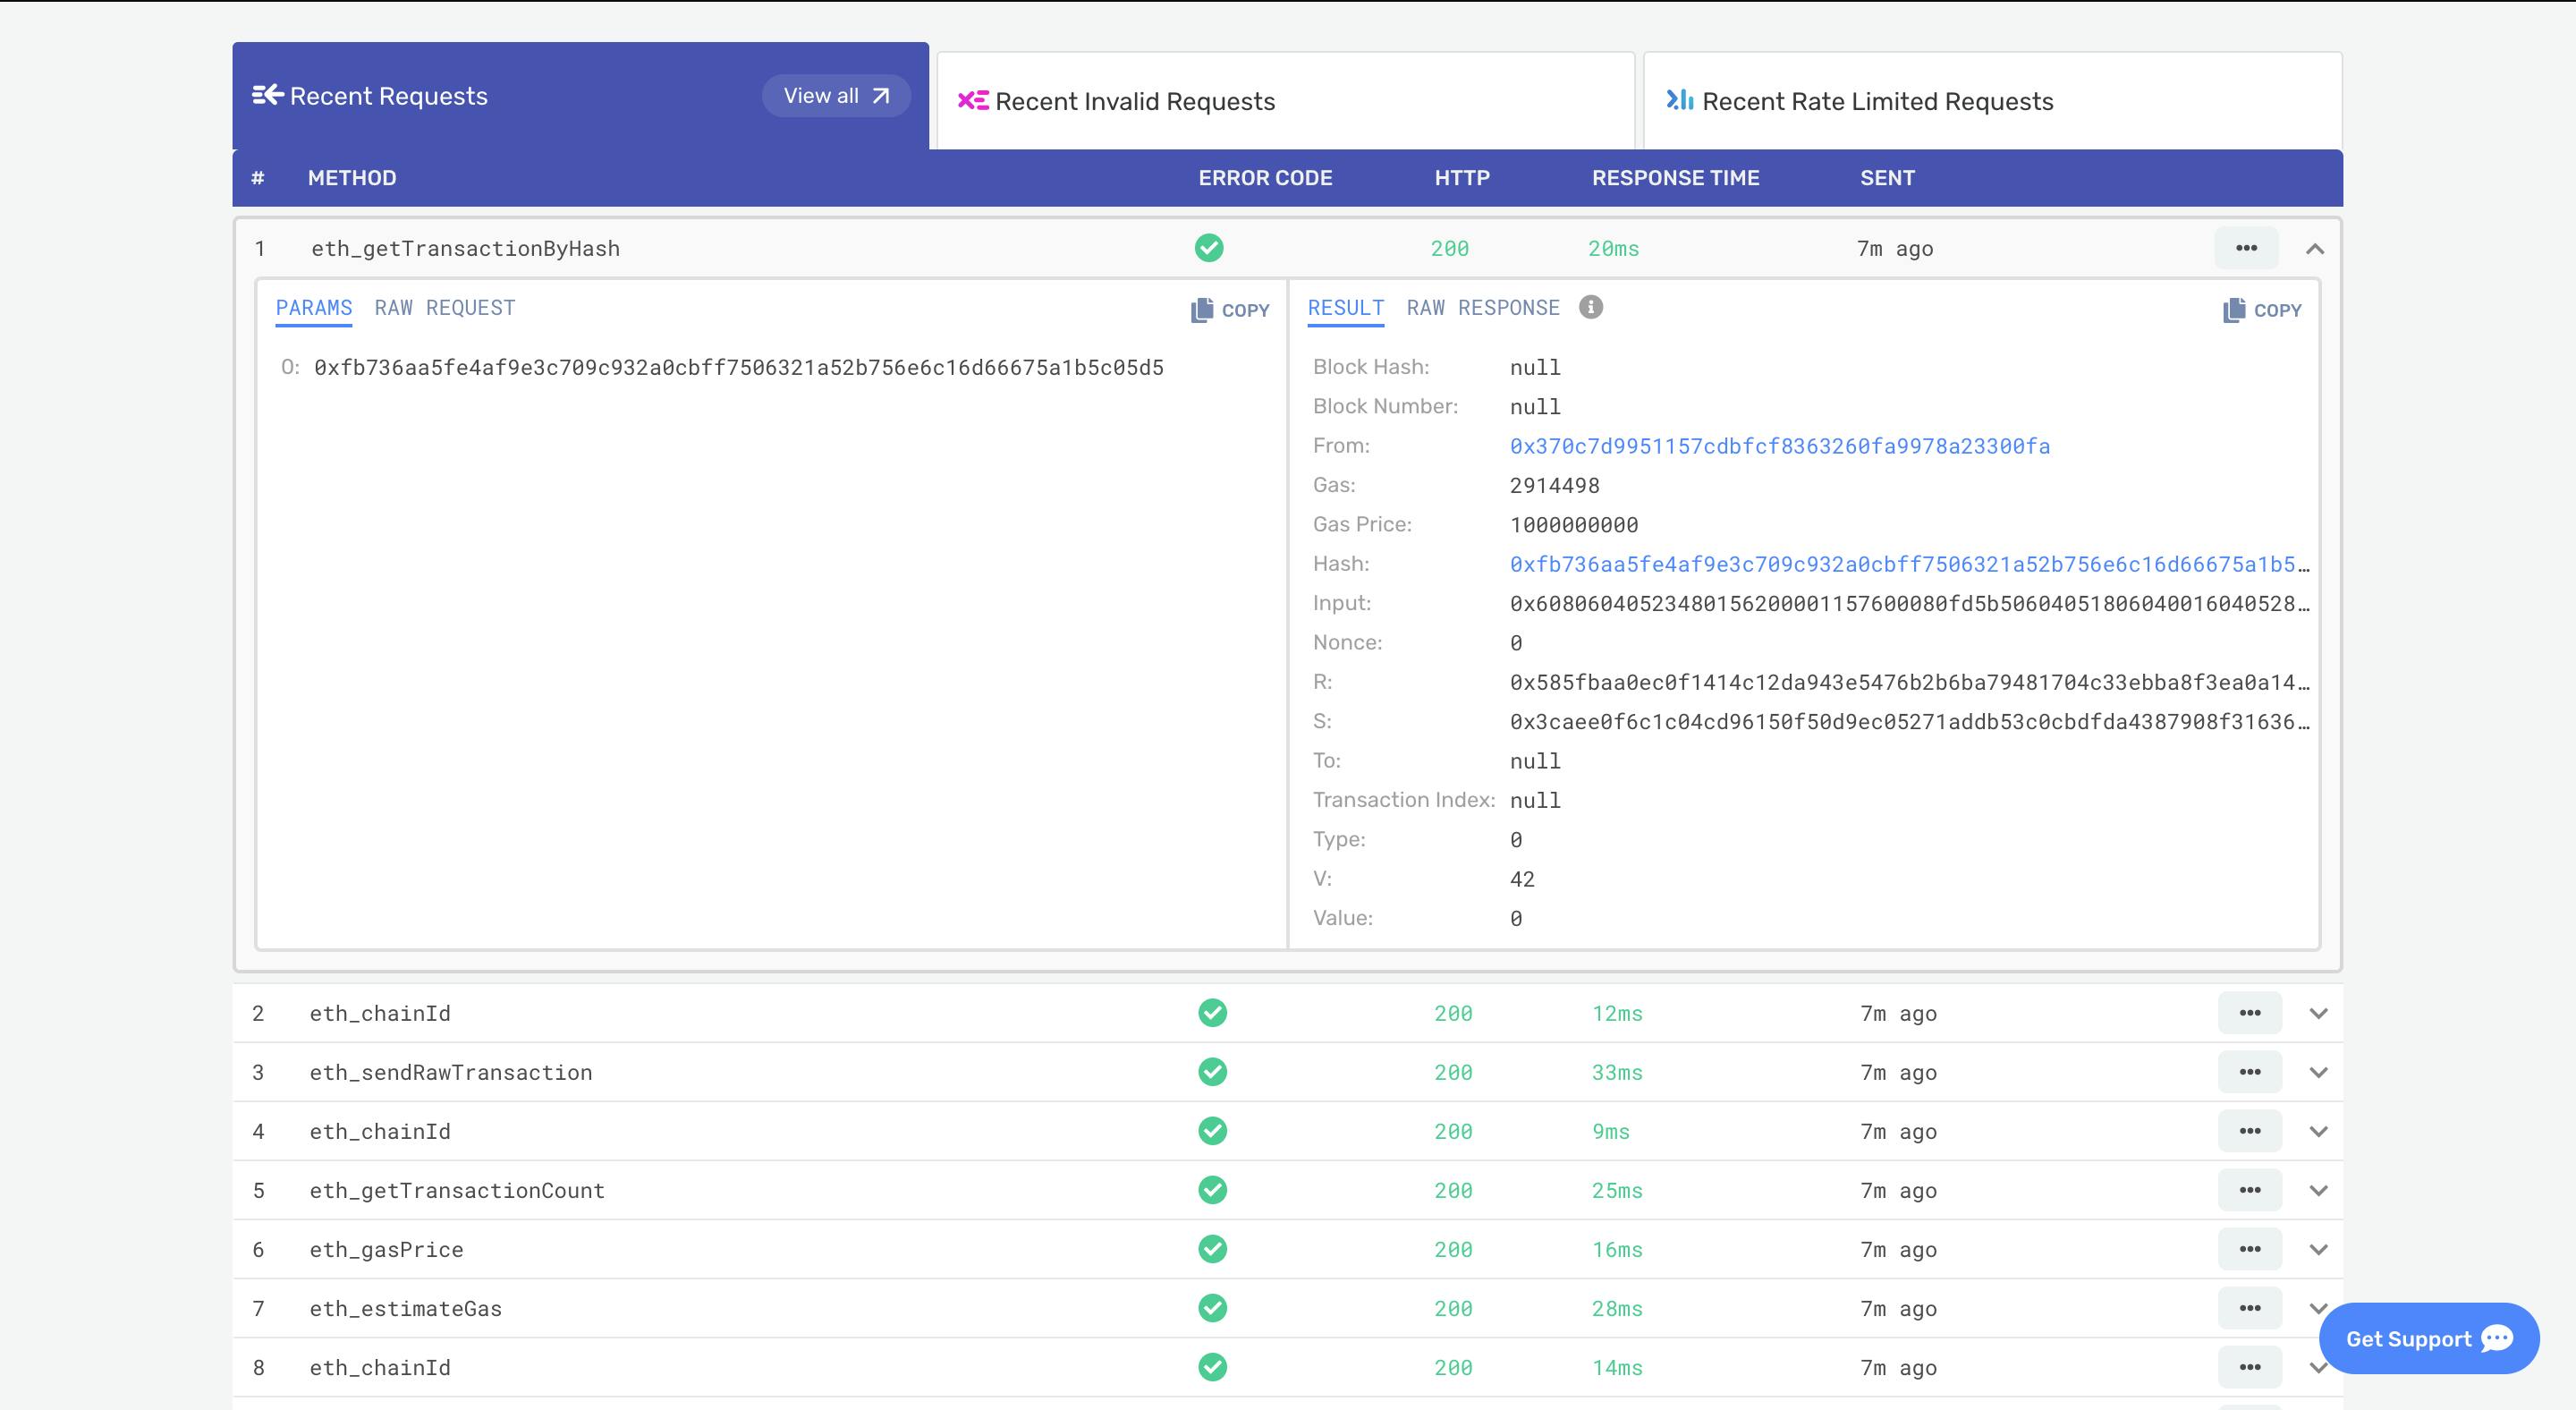
After that, we can go to Alchemy Dashboard and get a better look at what's happening under the hood.
Conclusion
Here's the GitHub link to the project
You have successfully built and deployed your first smart contract 🚀🚀 . Congratulations!! . WHAT NOW??!😈 I recommend you learn following to be a competent Ethereum blockchain developer:
1. Web3.js
2. Solidity
3. Ethereum
4. Ethersjs and Hardhat
But I recommend you start building something blockchain-related as quickly as possible 🦾
Thanks to Ethereum and all the third parties that we used in this project.
Thank you for reading this -Follow me on Twitter
Checkout my website.
