Key Definitions
What is an NFT?
A non-fungible token (NFT) is a unit of data stored on a digital ledger, called a blockchain, that certifies a digital asset to be unique and therefore not interchangeable. NFTs can be used to represent items such as photos, videos, audio, and other types of digital files.
What is Stellar?
Stellar is a distributed ledger technology that allows anyone to build low-cost and fast financial services. Stellar has some of the best documentation and tutorials to help a blockchain developer get started quickly.
What is a lumen?
Lumens are the tokens used by the wider Stellar Network, to send sums of money and convert currency.
What is a Stellar Laboratory?
The Stellar Laboratory is a set of tools that enables people to try out and learn about the Stellar network. The laboratory can build transactions, sign them, and submit them to the network. It can also make requests to any of the Horizon endpoints.
Foolish Assumptions
- You have an internet connection
- You have a laptop
- You are eager to learn
Quick Summary
We will build a Non-Fungible Token using two keypair accounts issuer and distributor on the stellar testnet . We will make use of the Stellar laboratory to make the learning experience accessible and awesome.🤗
These are the steps that we will cover
1. Create a 2 keypair accounts
2. Fund the accounts
3. Create a trustline
4. Create the NFT
5. Lock Issuing account
6. Sign and Submit blockchain transaction
7. Explore the Accounts and NFT
Step 1: Creating two stellar keypair accounts
Firstly , let's go to the stellar laboratory link and make sure you are using testnet
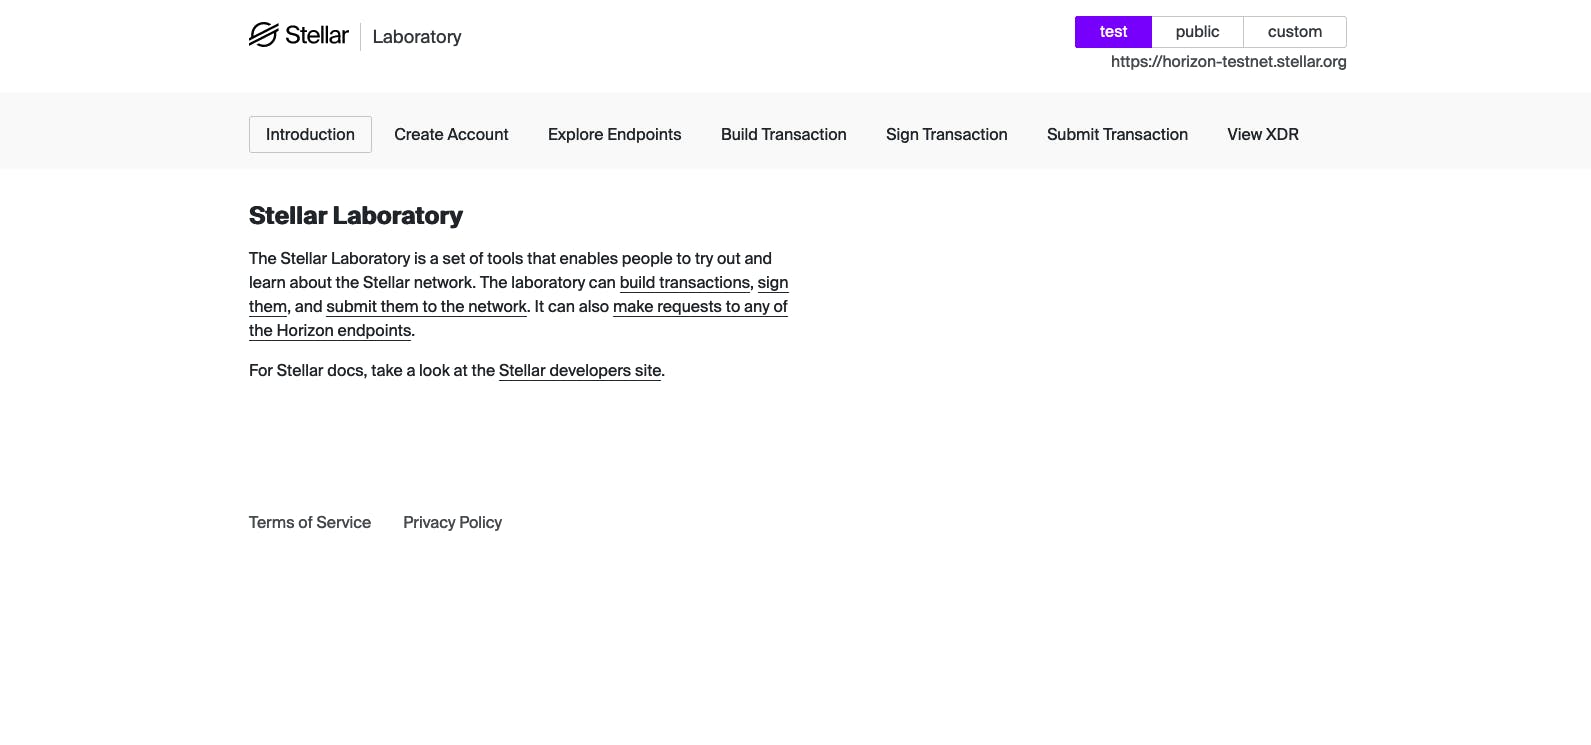
Click the Generate Keypair purple button to generate the first key pair. Repeat the process to create the second keypair account.
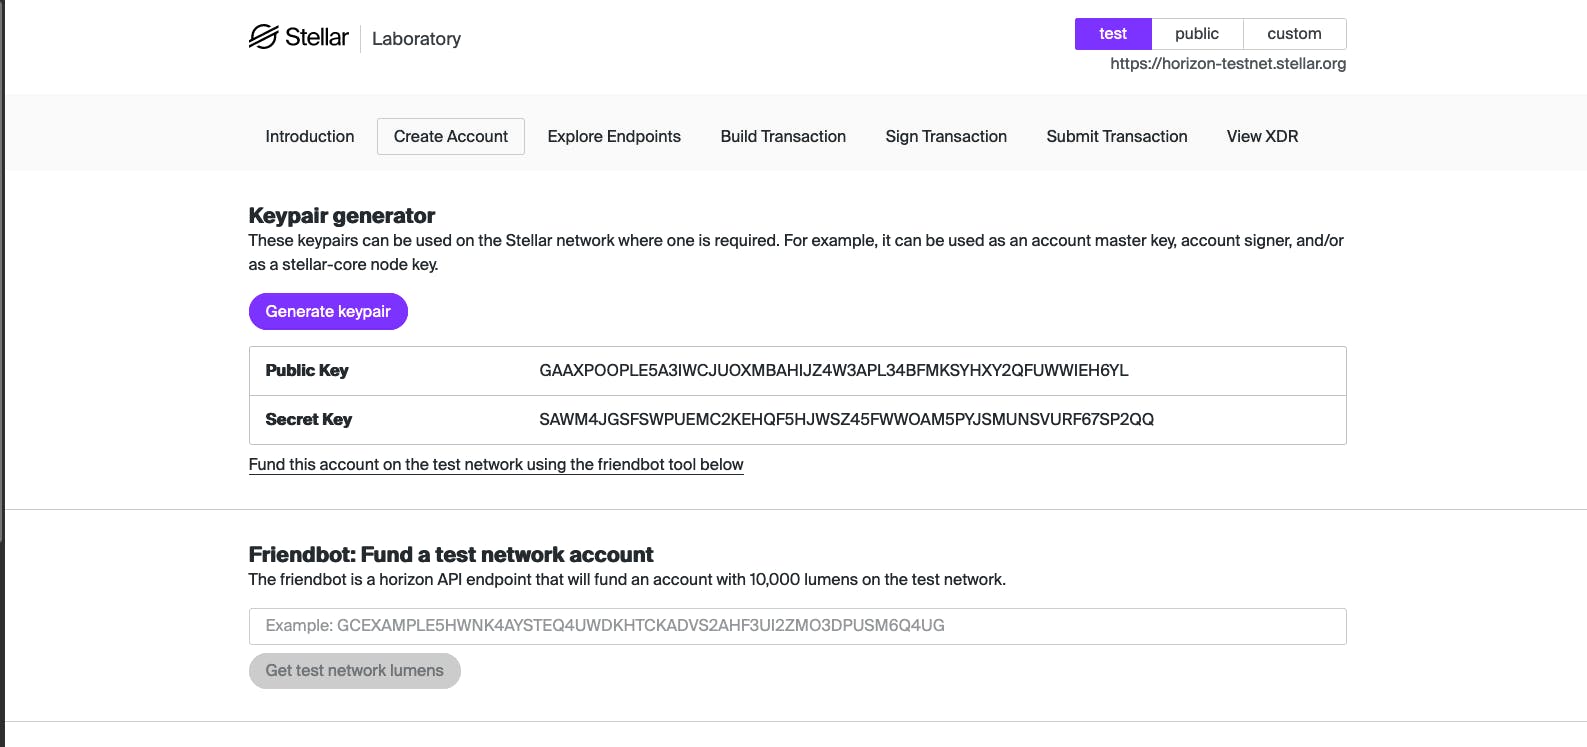
In my case, these are the public keys for the two accounts I created. Make sure you don't mix up the two accounts 😜😜
Distributor
Public Key
GB4CQMAJEFBR4KWZHR4WY4SXIT5DXME6F4BUPNCIYTU4RIKLHU5XIYV6

Issuer
Public Key
GBT6JLUJ5JB2LVSRLR24EBQVIQAX23EMGJ4S7F3OF6B7GNOOCXWZTXDG
Step 2: Funding the two stellar keypair accounts
Next , we fund both accounts with 10,000 lumens on the test network using Friendbot.
Just add the public key for the account you want to fund and click on Get test network lumens.


Step 3: Creating a trustline between the issuer and distributor
In the third step let's set up a trustline between the issuer and the distributor. A Trustline in Stellar explicitly implies that the distribution account trusts the issuing account with the handling of the assets issued.
Firstly , we go to the transaction builder tab. The transaction builder lets us build a new Stellar transaction on the Stellar Network.

Let's add the public of the issuer in Source account field and generate the Transaction Sequence Number by clicking Fetch next sequence number for account starting with "GBT6JLUJ5J" purple button below that field.
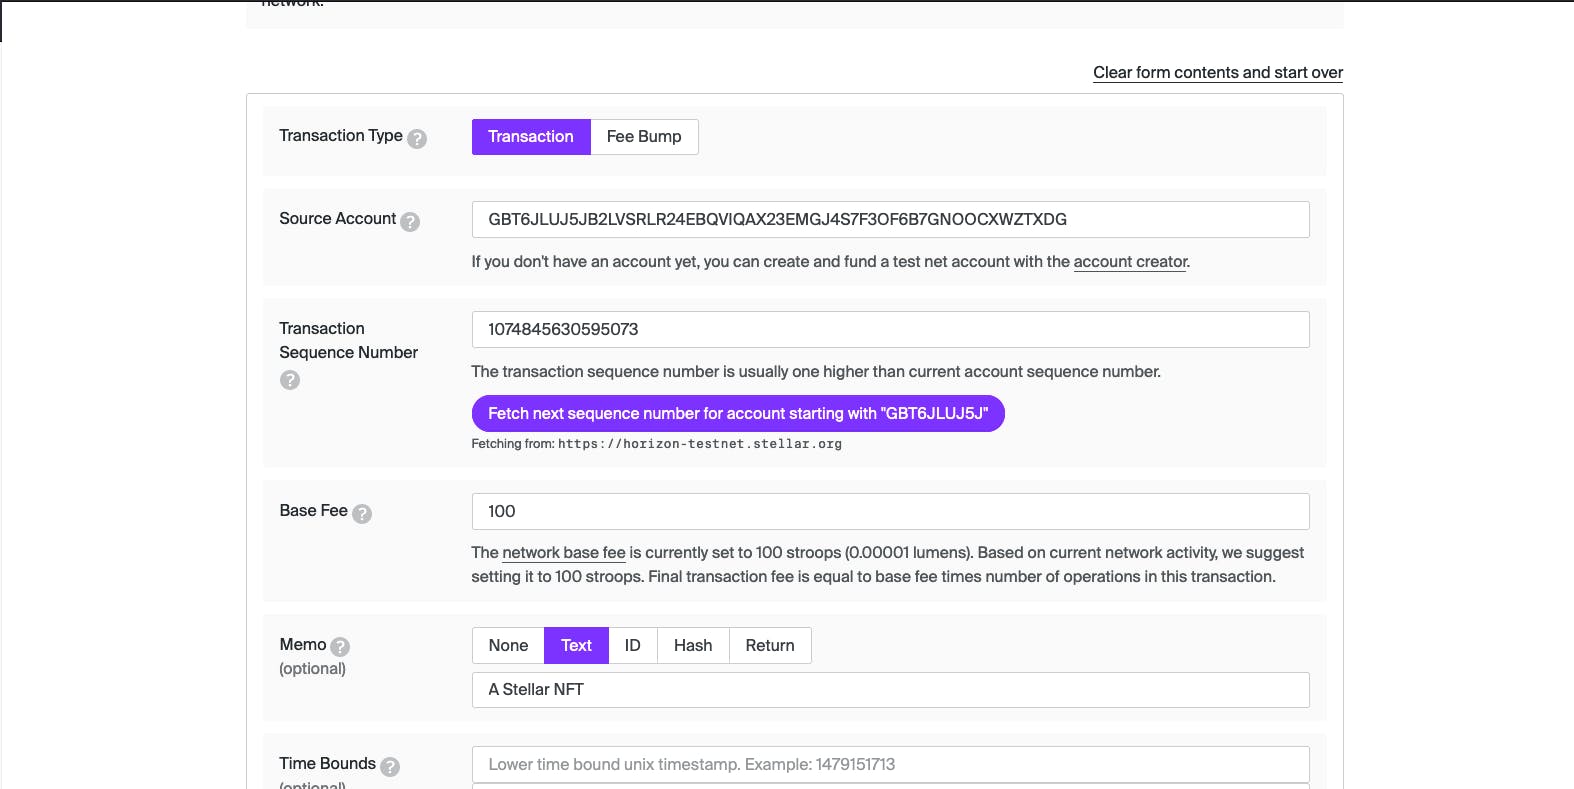
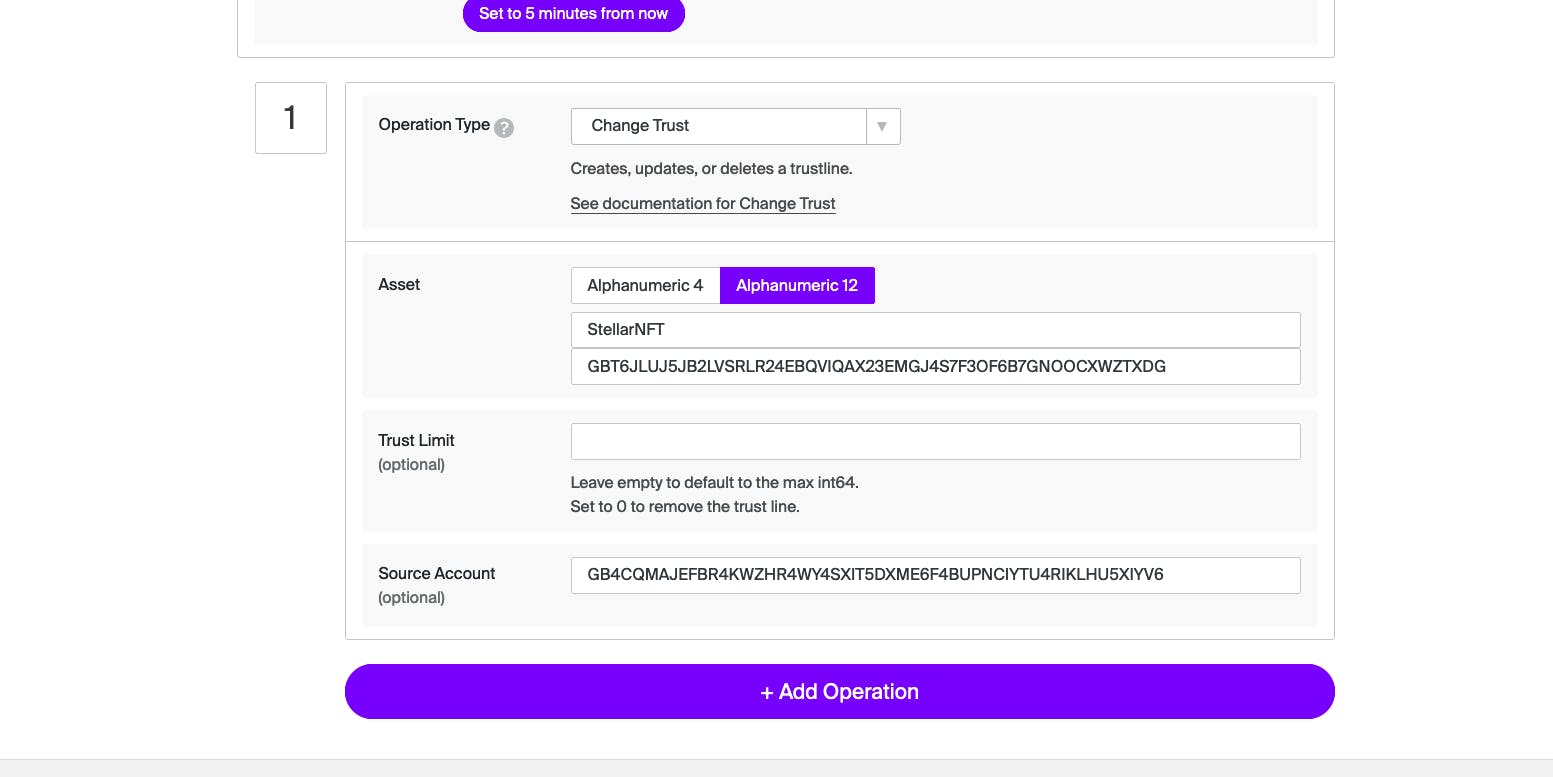
Next, let's go to the Operation Type field and select Change Trust option from the dropdown. On the Asset field, we named our asset "StellarNFT" and added the issuer account public Id. On the Source Account field, we added the distributor public Id.
Step 4: Creating the Non-Funguiable Token
In this step , we create the NFT we start by adding another operation below the trustline operation.

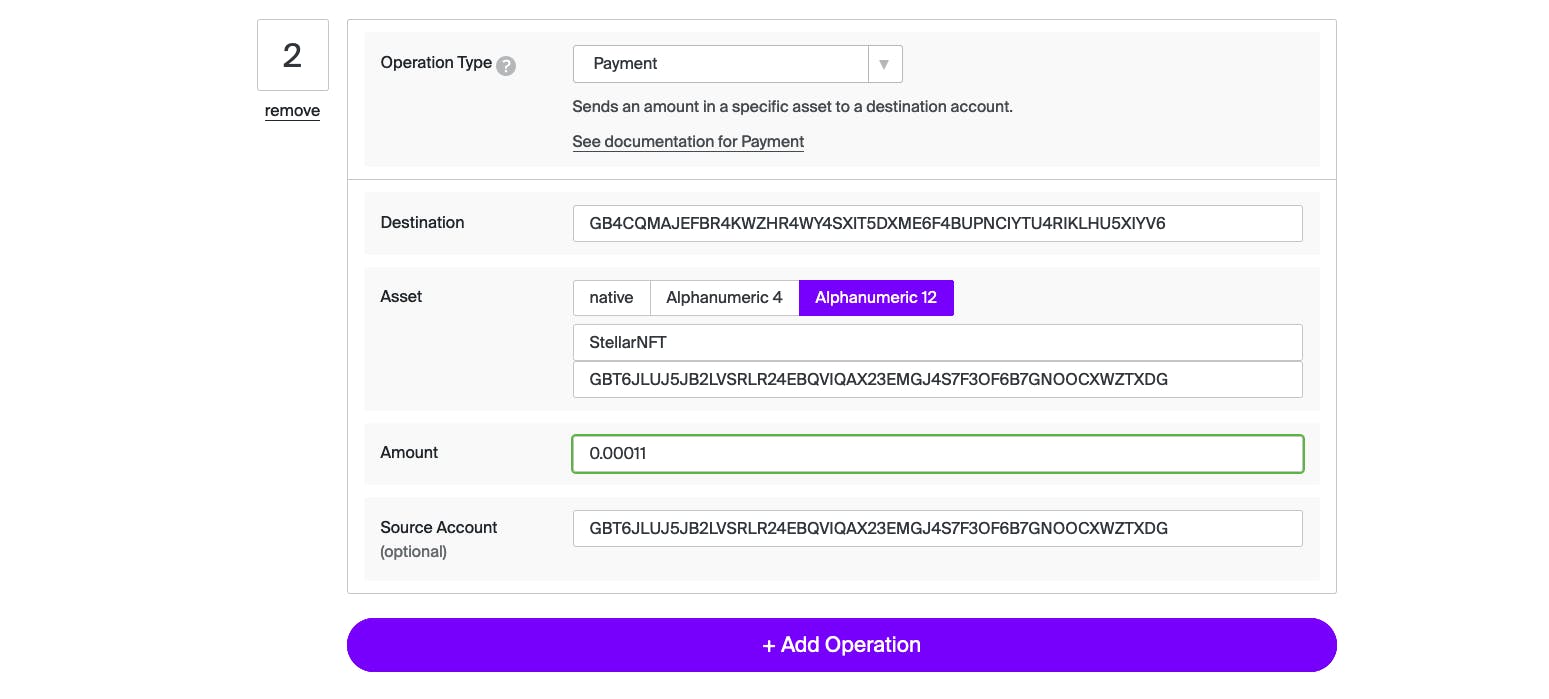
This will be our second operation and we select the Payment operation as the operation type from the dropdown. Add the distributor account public Id in the destination field .
Next , we create our asset by selecting alphanumeric 12 and adding our Asset code in this case it's StellaNFT. Then we add the issuer public id in the next field and lastly, we add the amount of token we want to create.
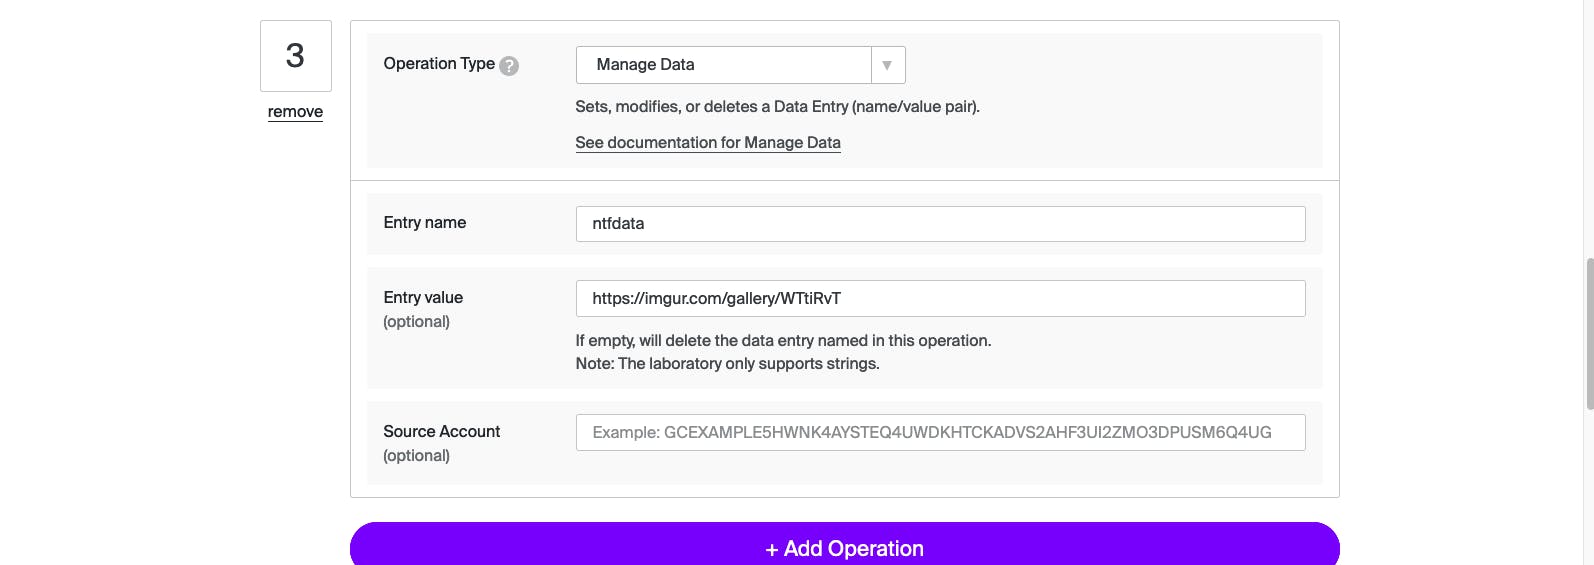
Lastly , we add metadata to our NFT which in this case is an image from Imgur . Lol we are a bit lazy to do anything complex but this is enough to get the point across
Quick one checkout IPFS and how it's used in the distributed web. The InterPlanetary File System (IPFS) is a protocol and peer-to-peer network for storing and sharing data in a distributed file system. When building a real-world NFT I recommend using IPFS.
Step 5: Locking the issuing account
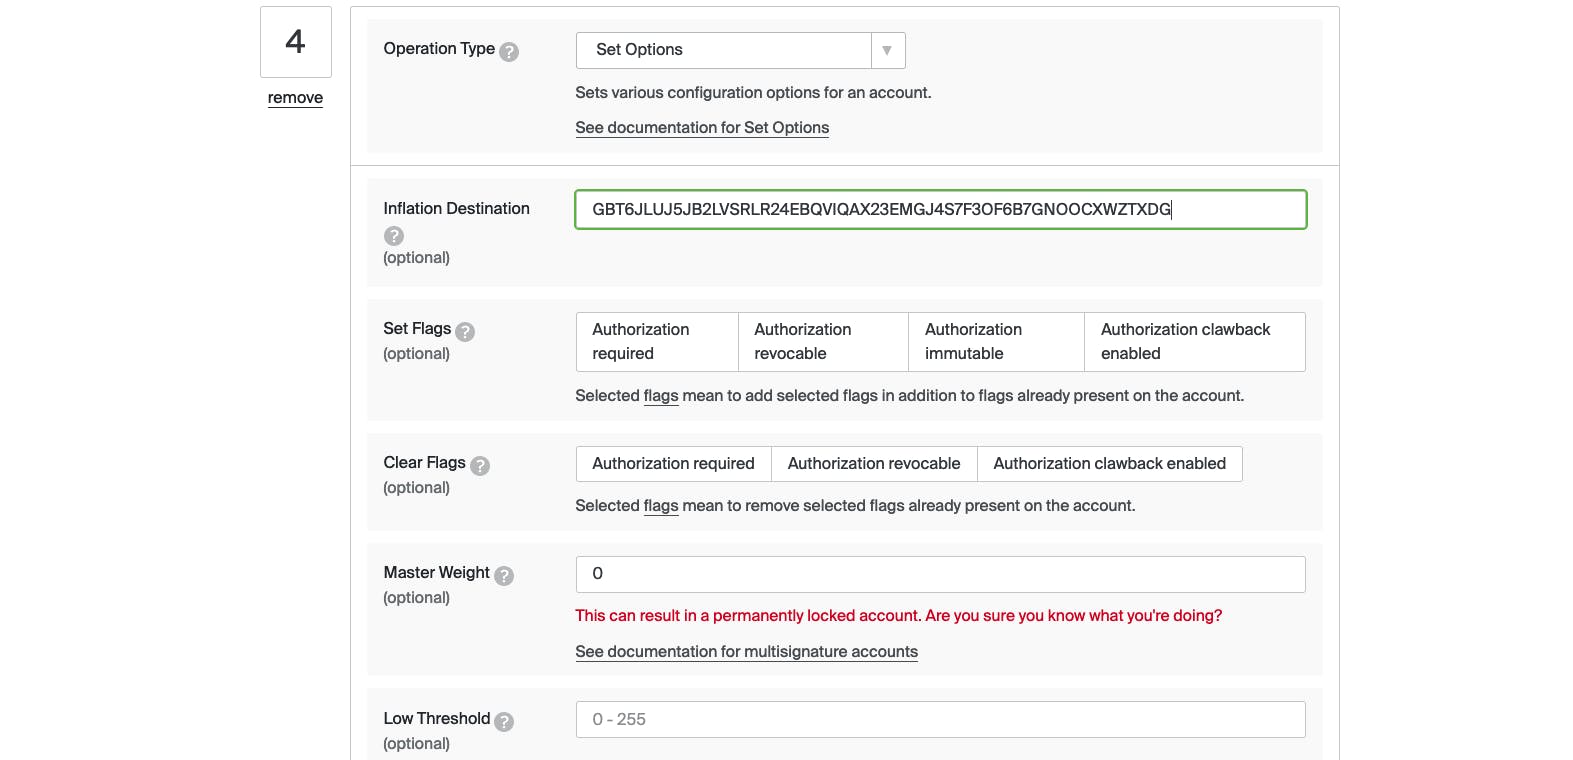
In step 5 , we go on the Operation Type field and select the Set Options option from the dropdown. Let's go to the Master Weight field and add a value of 0 .This will prevent the issuer from minting more tokens in the future and it's optional.
Step 6: Signing and Submitting Transaction
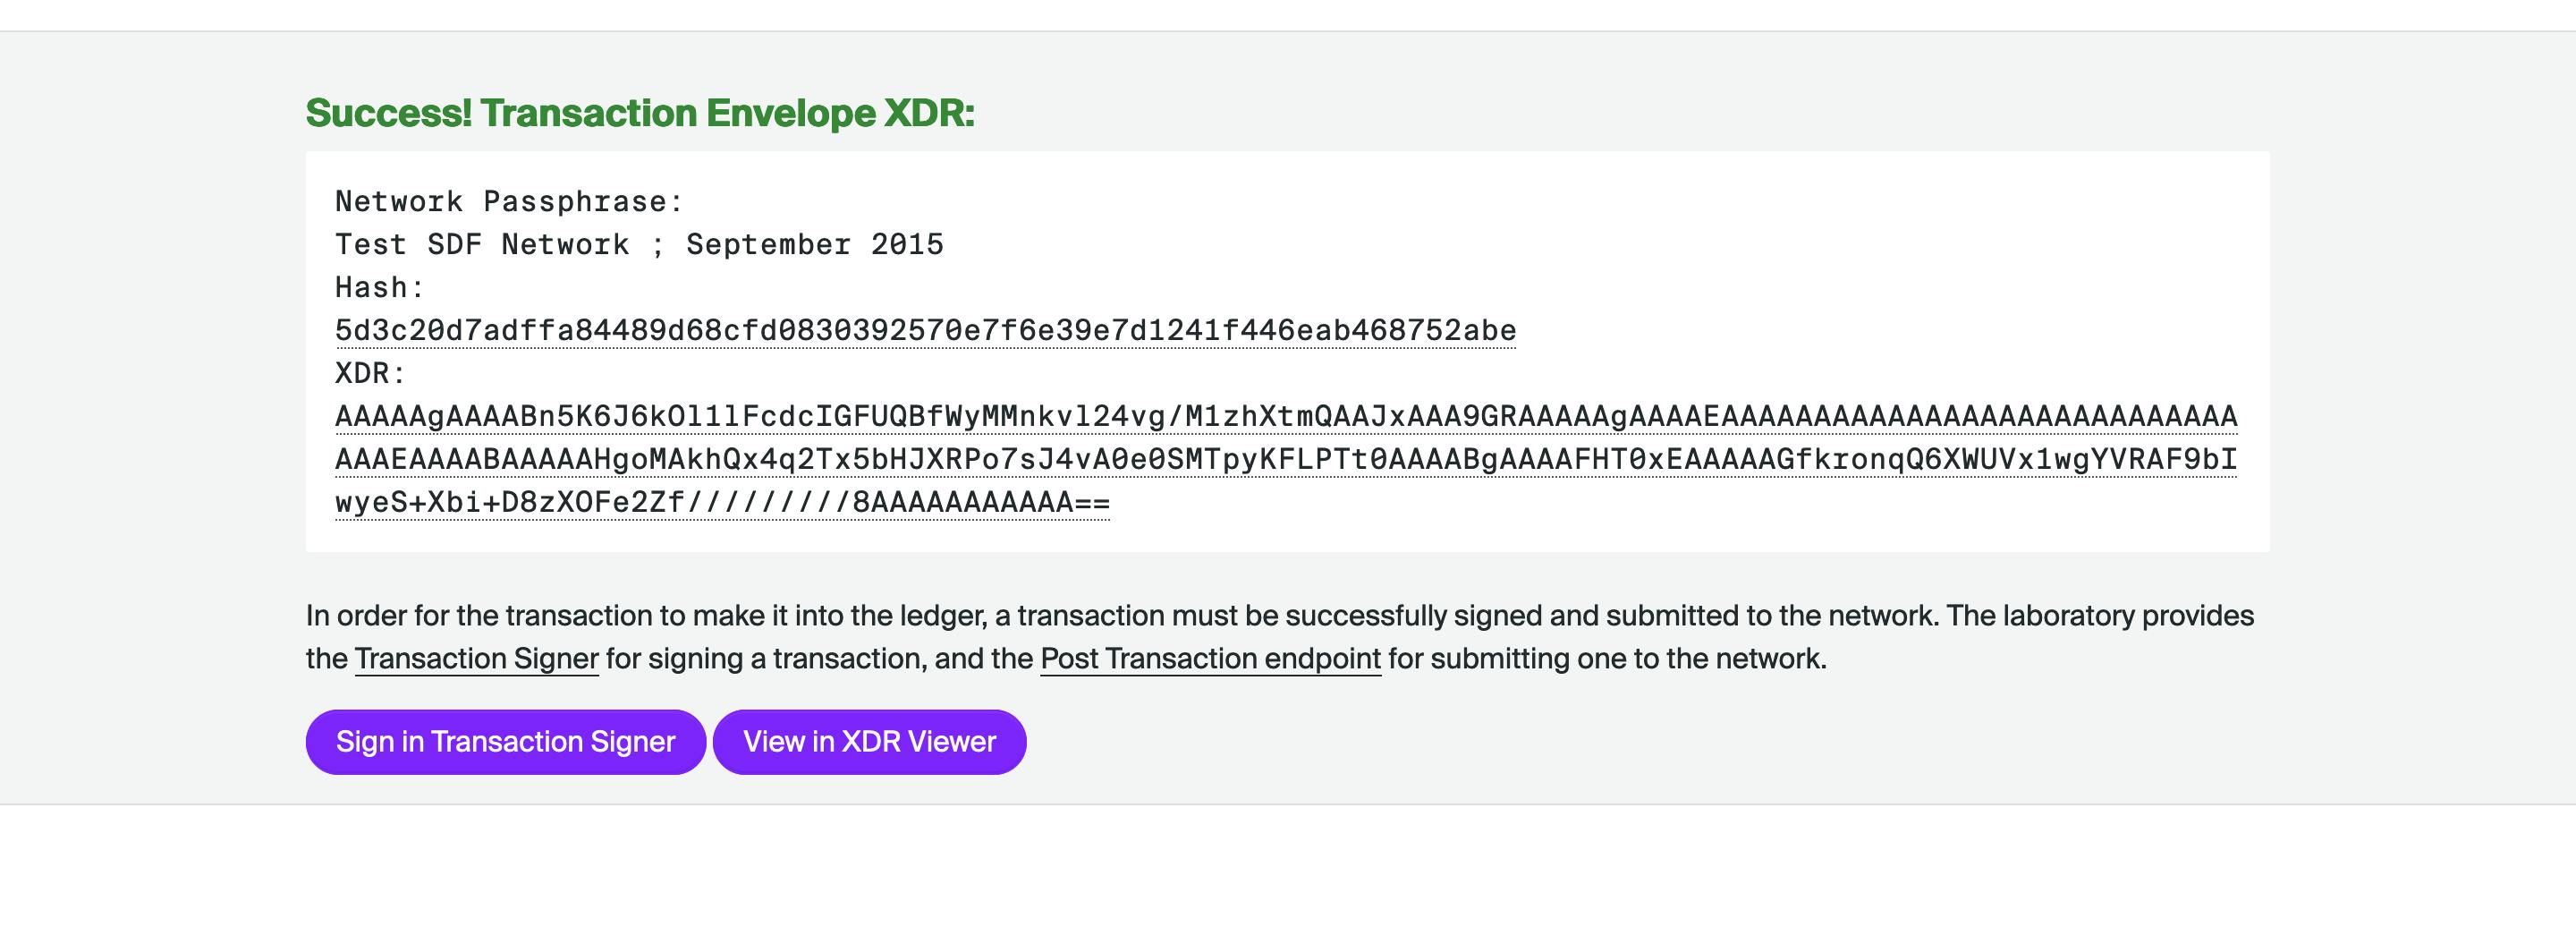
Firstly , we click the Sign in Transaction Signer button near the footer of the page and this will
give us a transaction overview and Signatures fields.
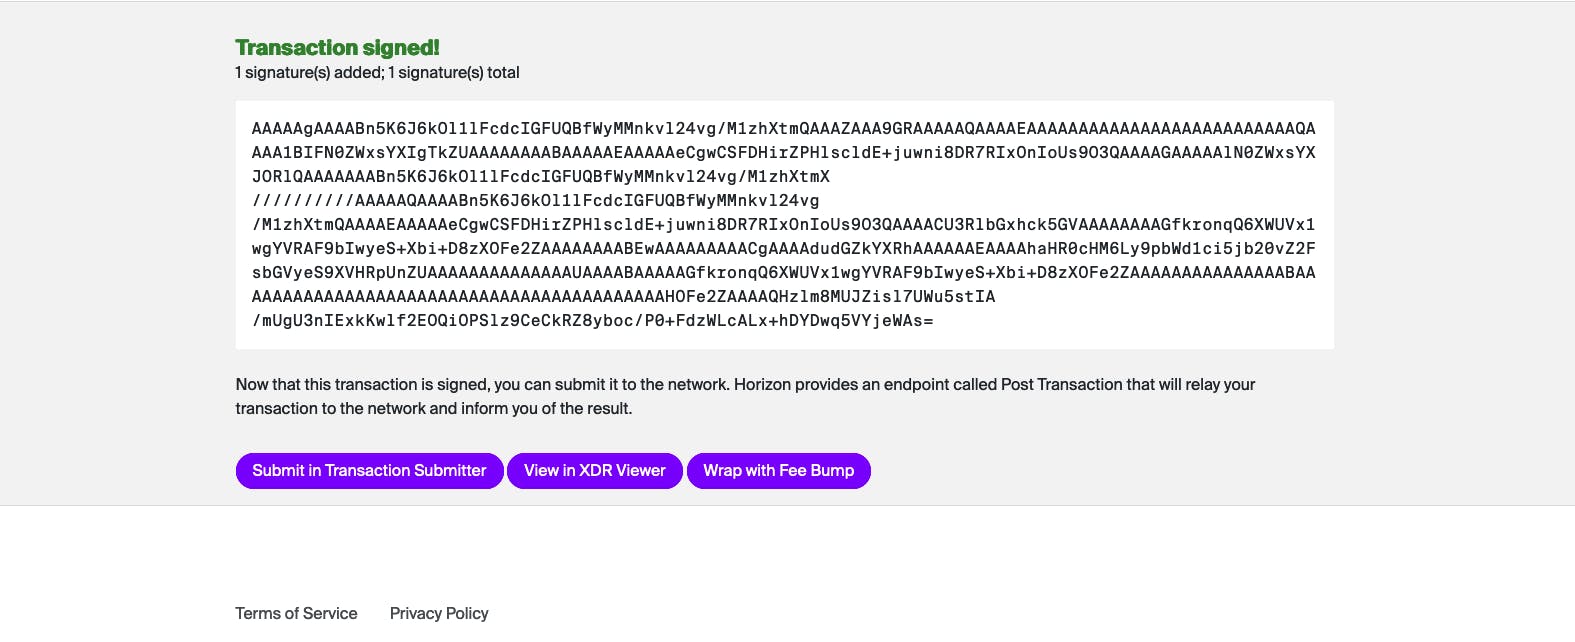
Below is the Signatures field where we add the issuer secret id in the Add Signer field and click Sign with BIP path button

Lastly, we submit the transaction as shown by the images below:

Step 6: Exploring the stellar accounts and NFT
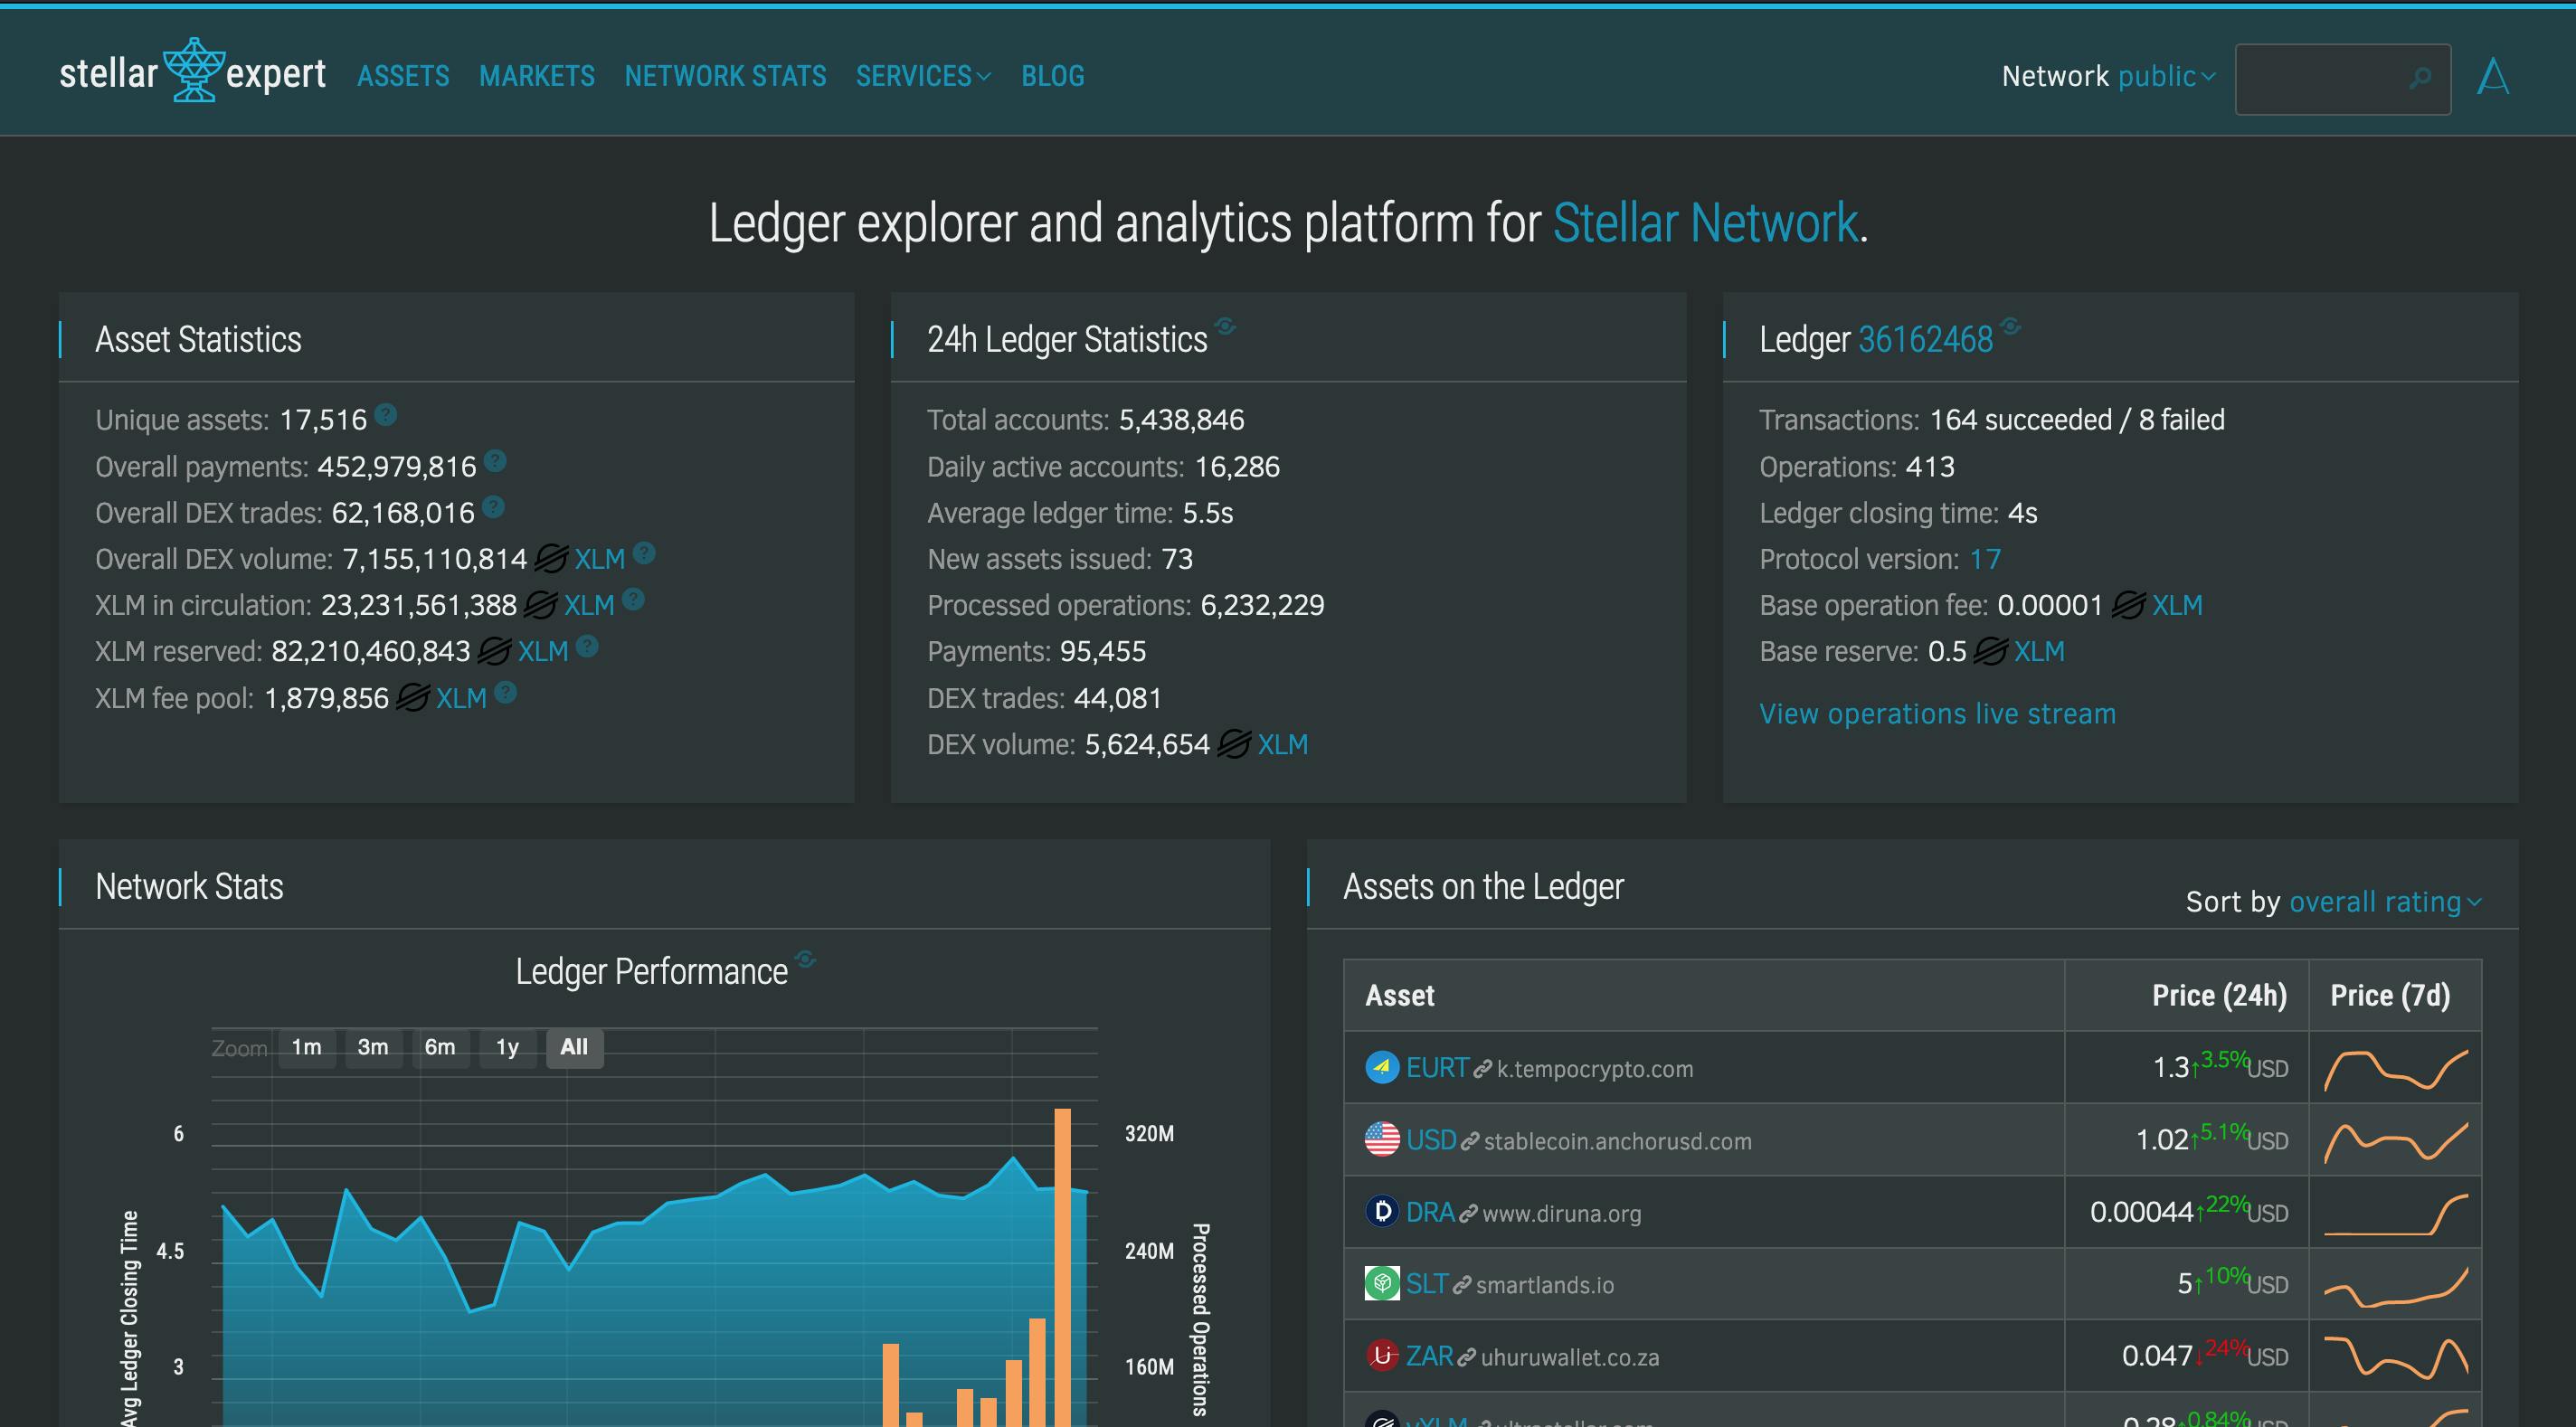
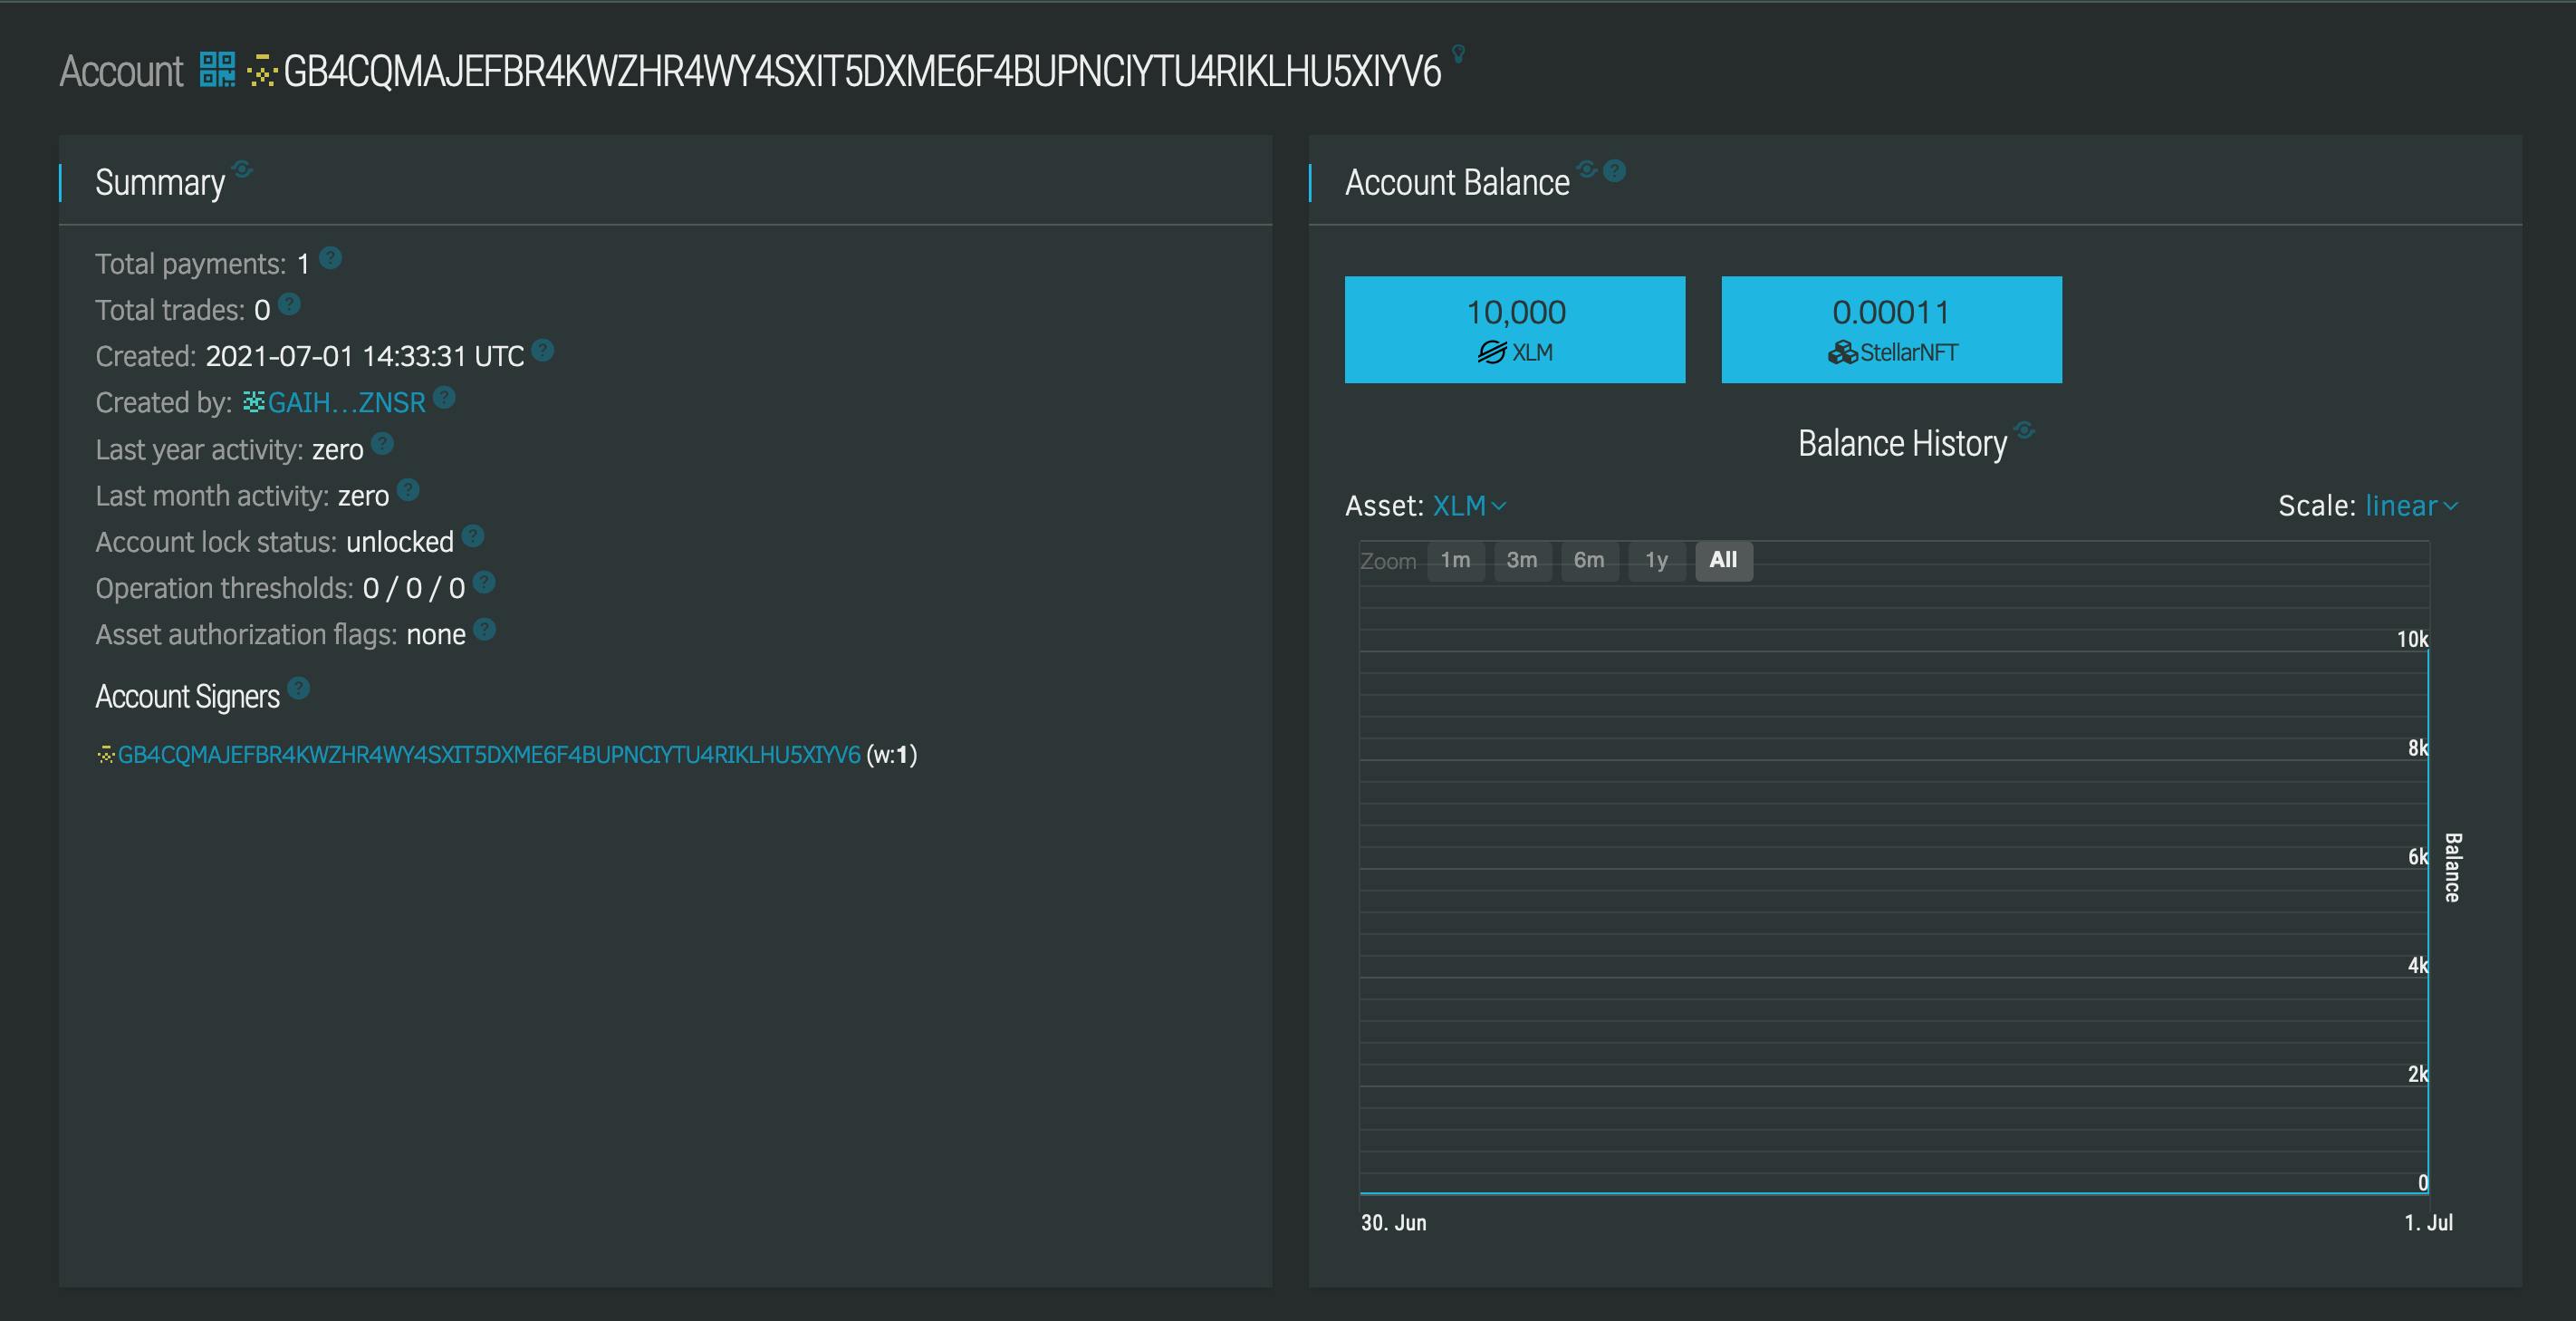
You made it to the final step!! 🤗 Here we navigate to Stellar Explorer to check out all accounts . Feel free to play around using the public ids of the issue and distributor.


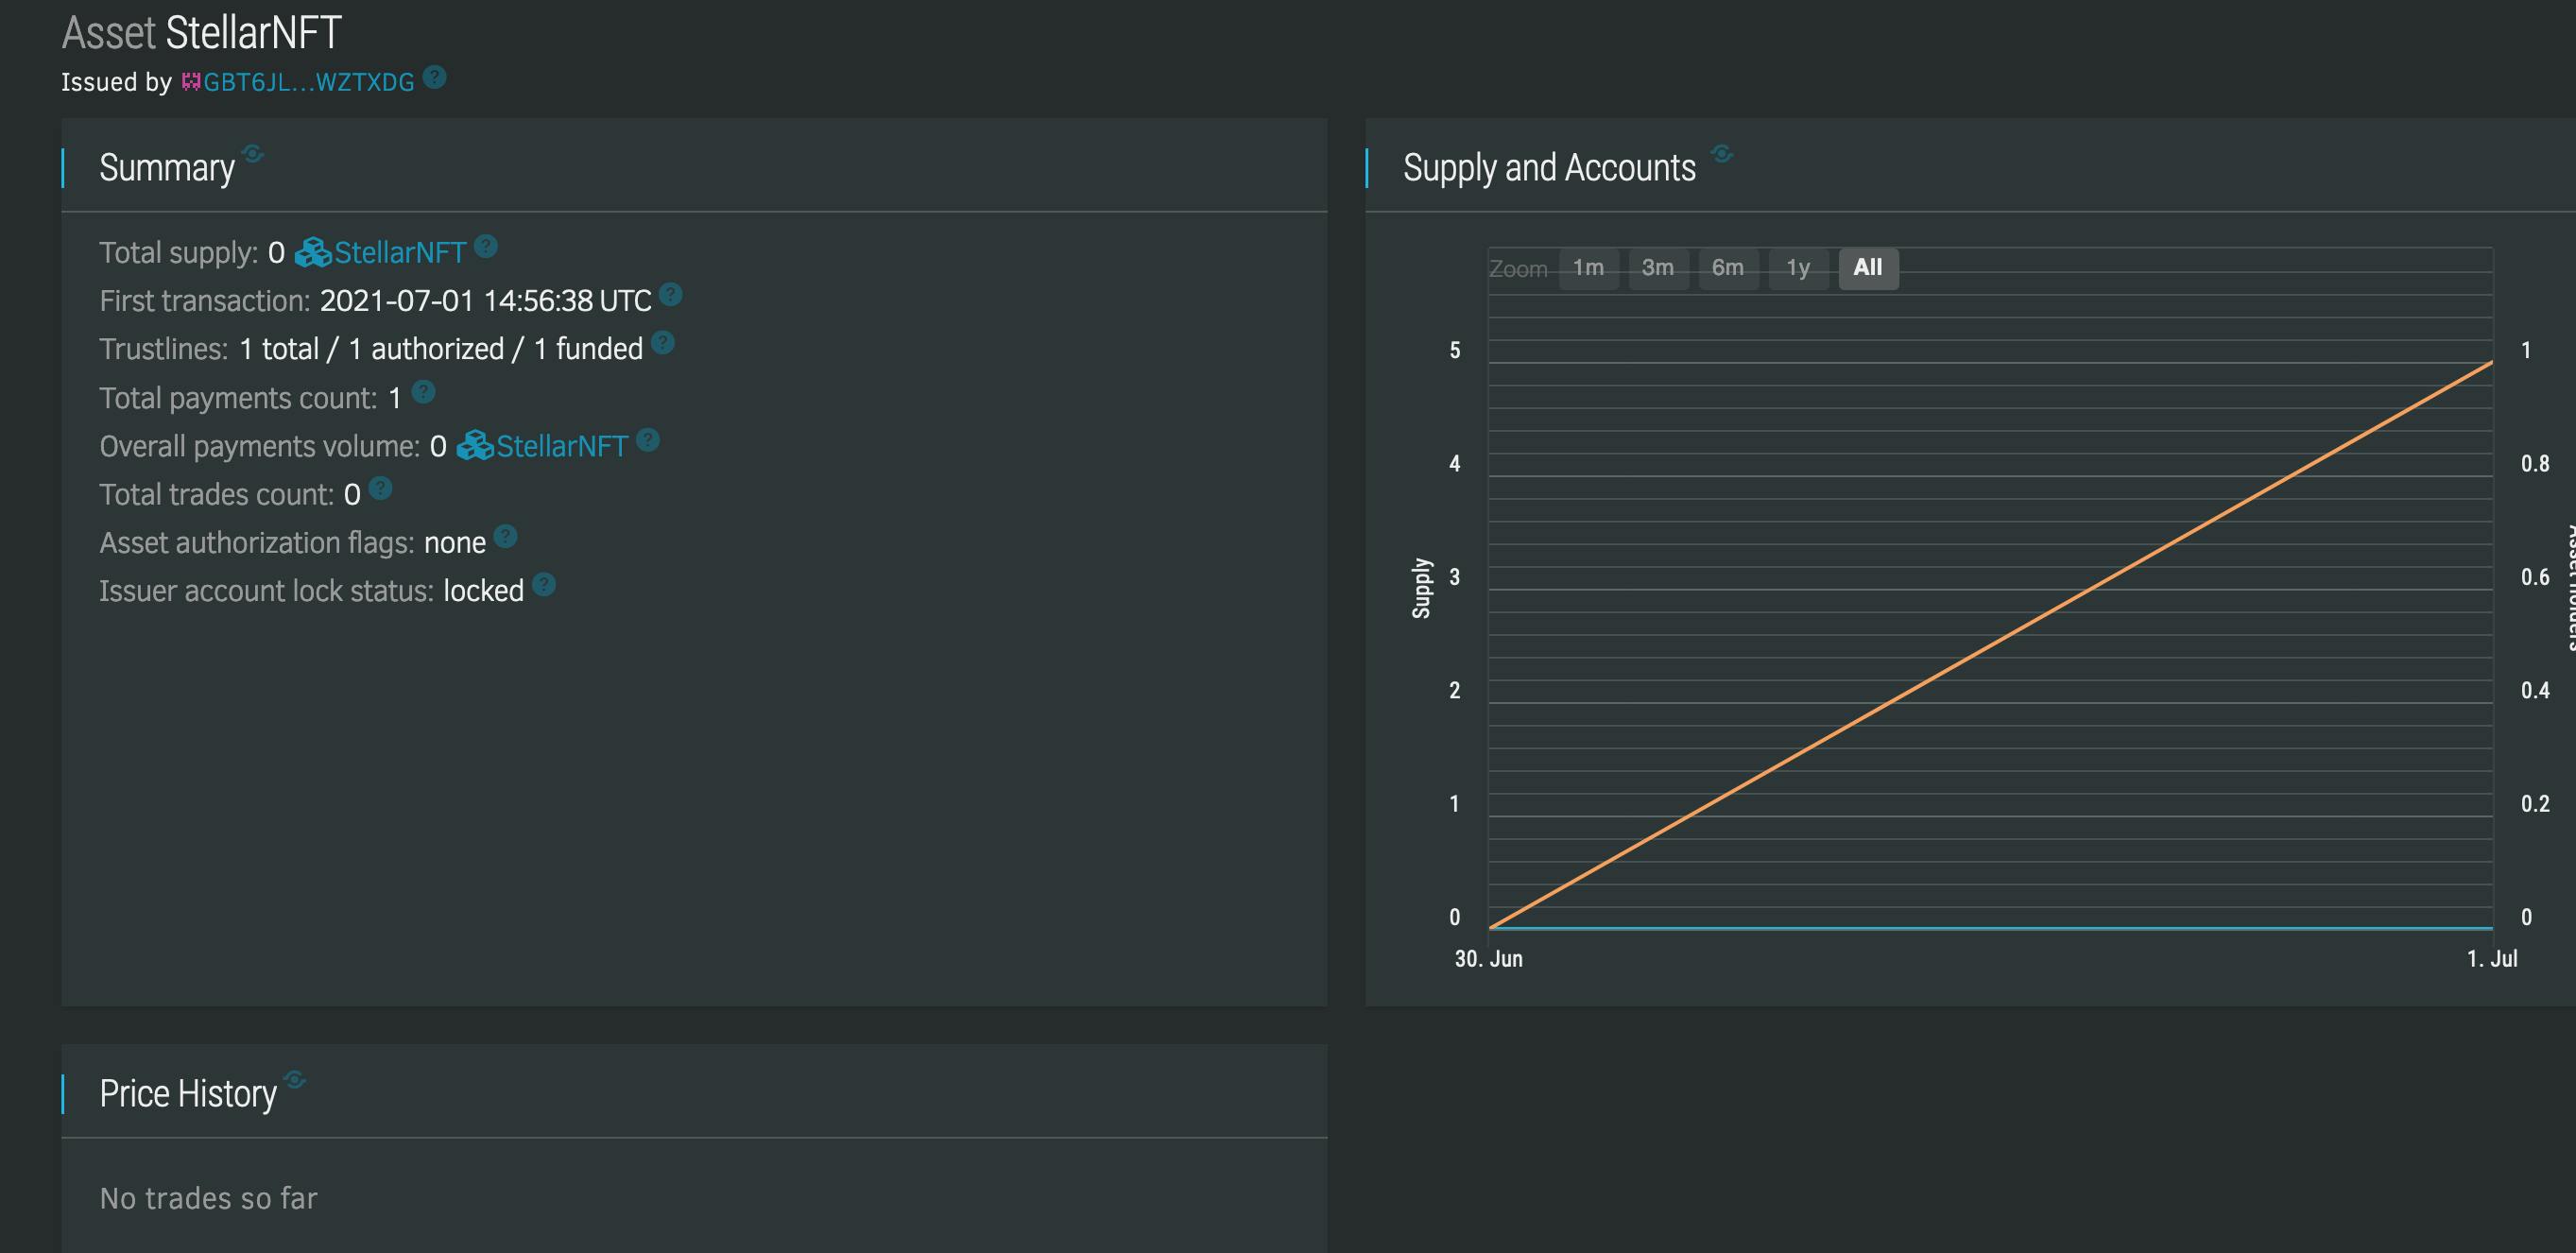
You also check out the NFT we created using this link stellar.expert/explorer/testnet/asset/Stell..
Conclusion🤓
Check out my previous article on NFTs: How to create an NFT on Ethereum Blockchain
You have successfully built and deployed an NFT on the Stellar blockchain . 🚀 . Congratulations!! .
But I recommend you start building something blockchain-related using stellar as quickly as possible 🦾
🙏Thanks to Stellar
🙏Thank you for reading this -Follow me on Twitter
Checkout my website.
